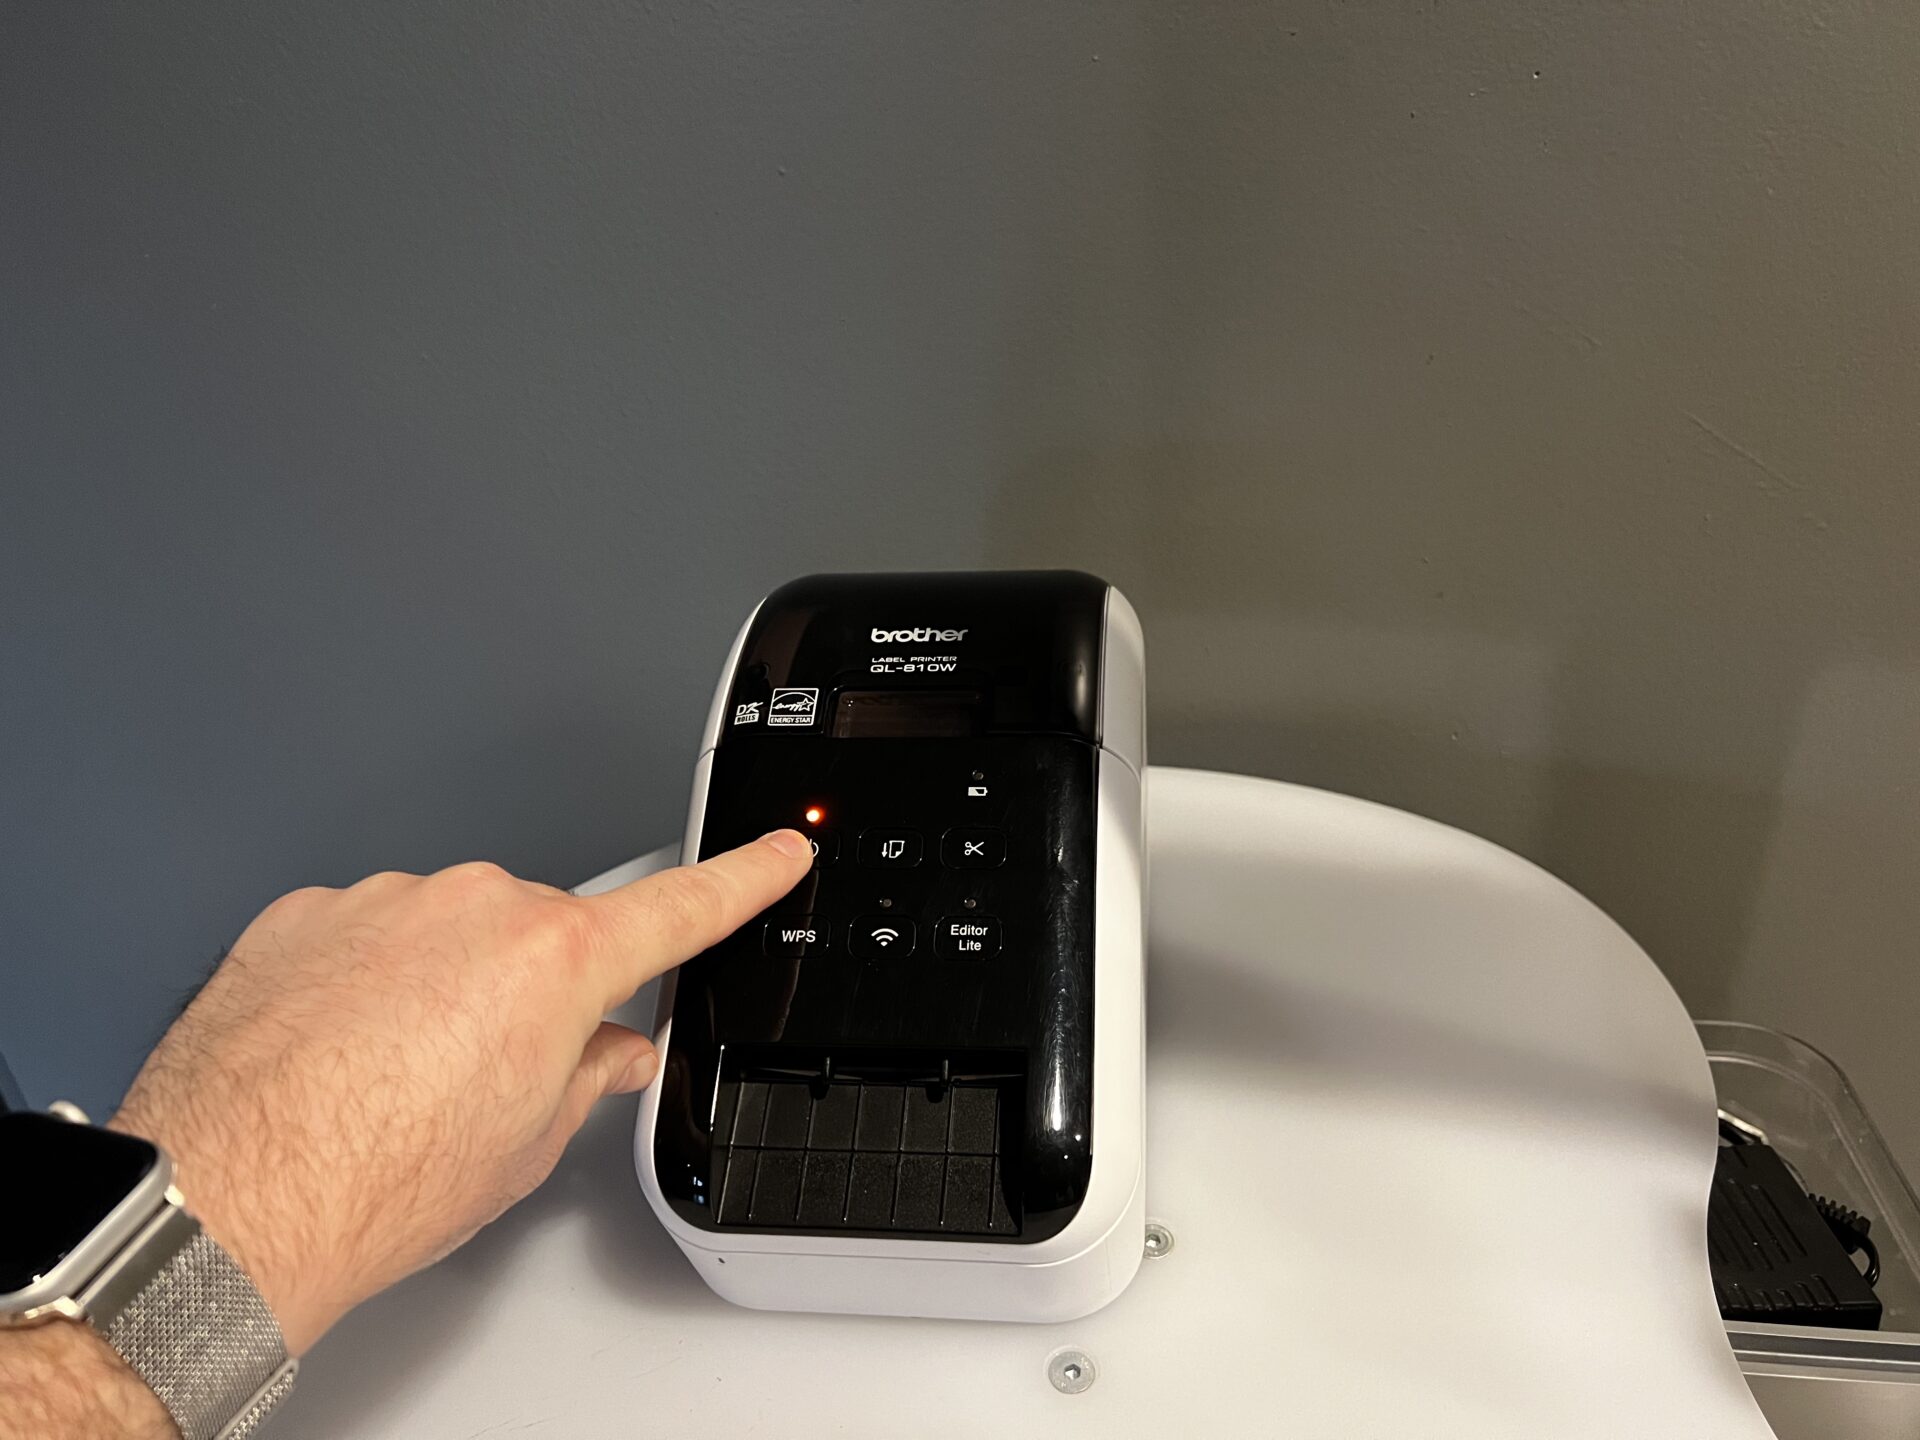
Part 1 – Preparation – Step 1
Unplug the power cord to both Printers
And wait 5s to plug them in again.
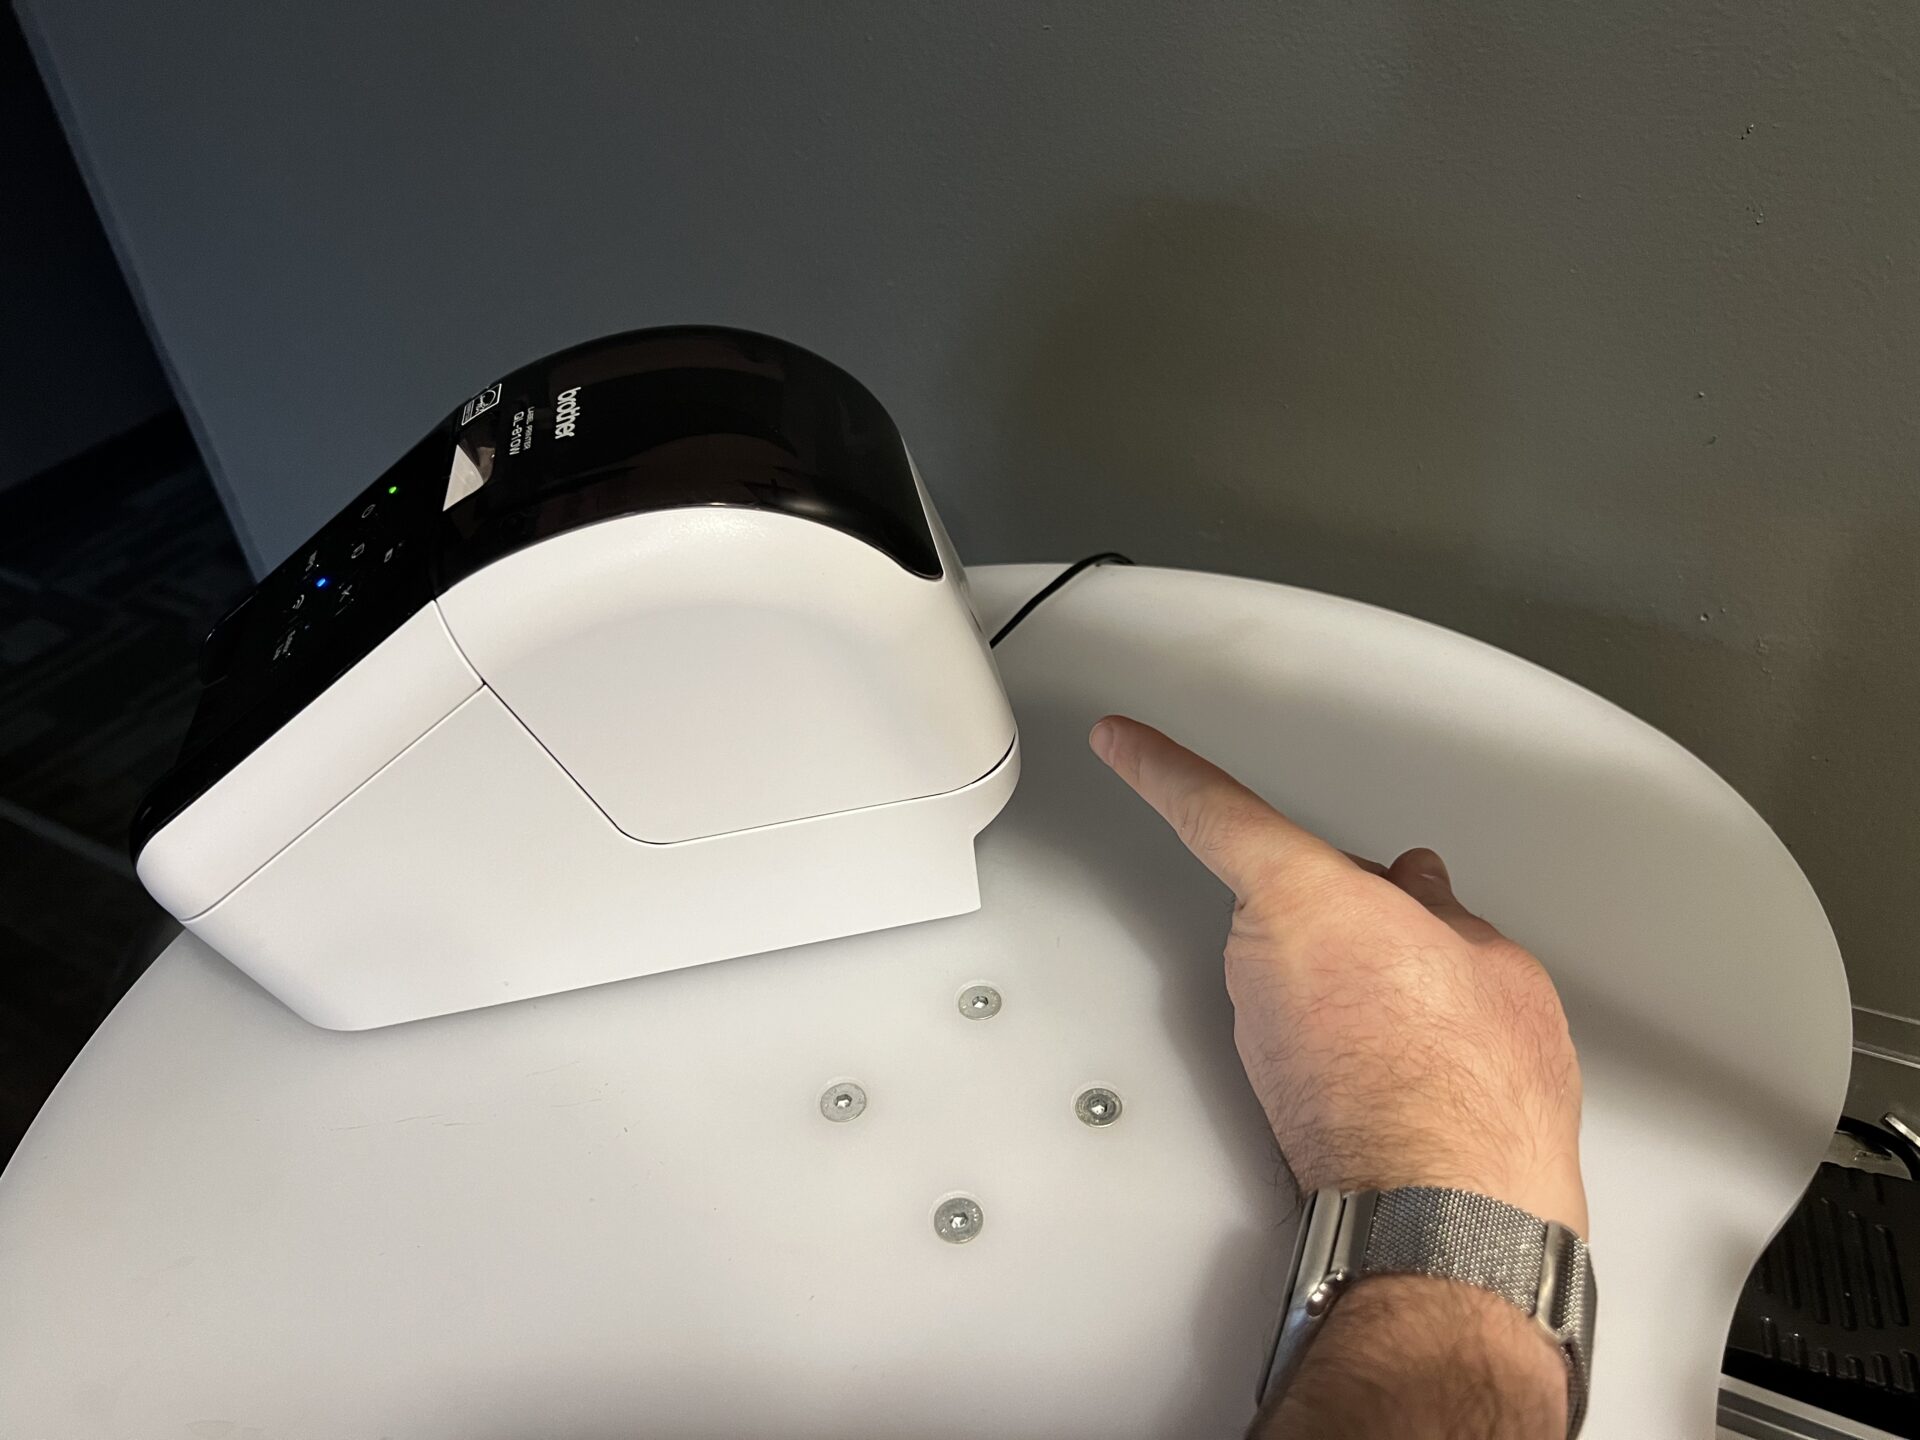
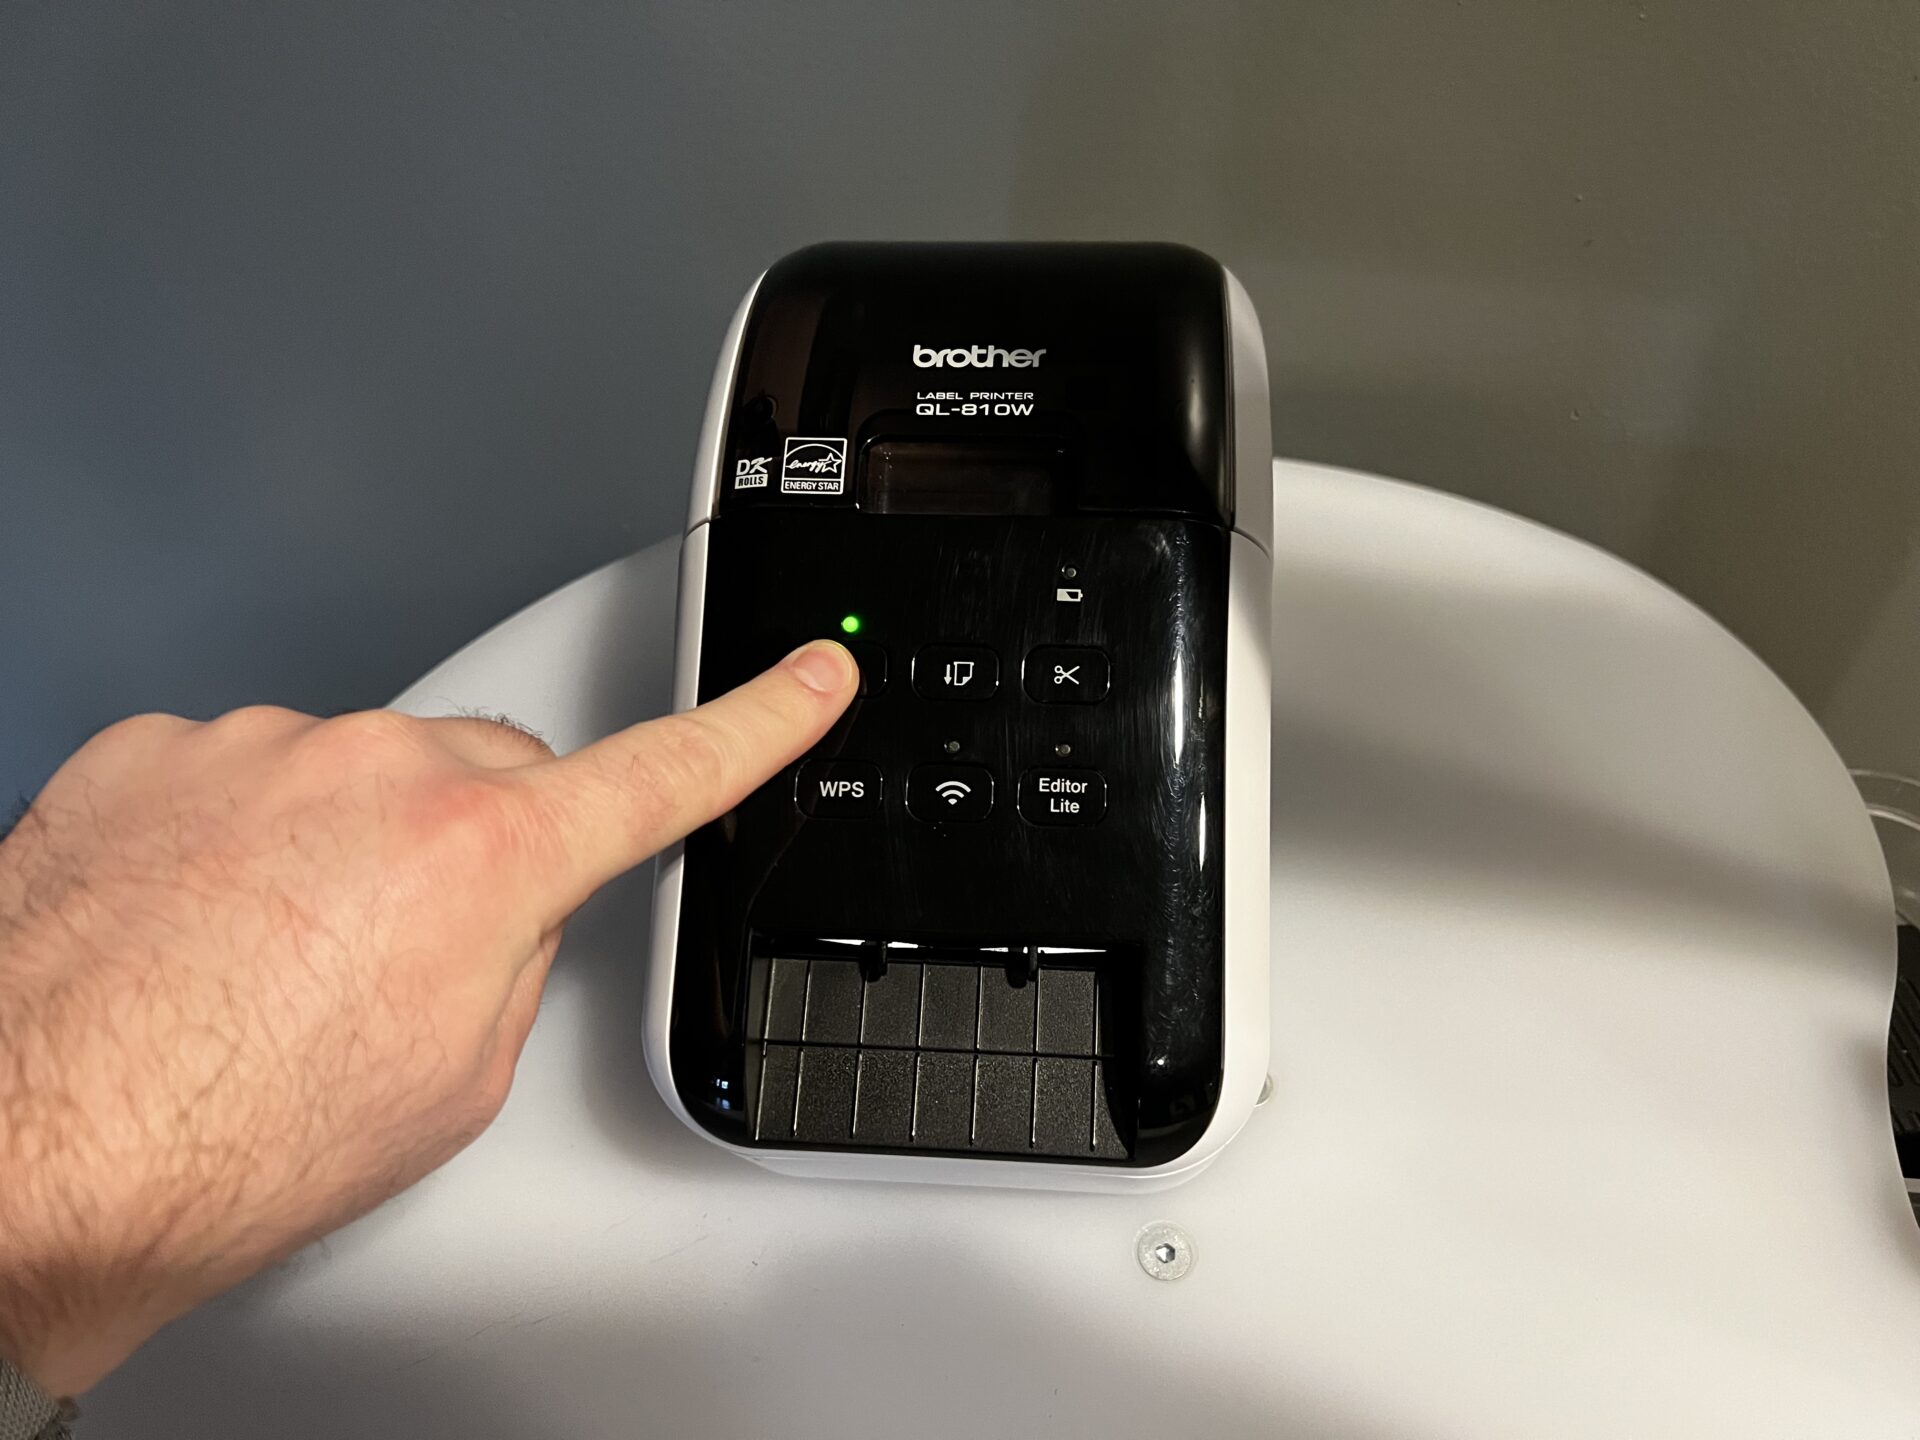
Step 2
Turn on the Power
And wait for about 30-35s for the Blue Wifi Light to quit blinking.
Part 2 – Checkin App Setup – Step 1
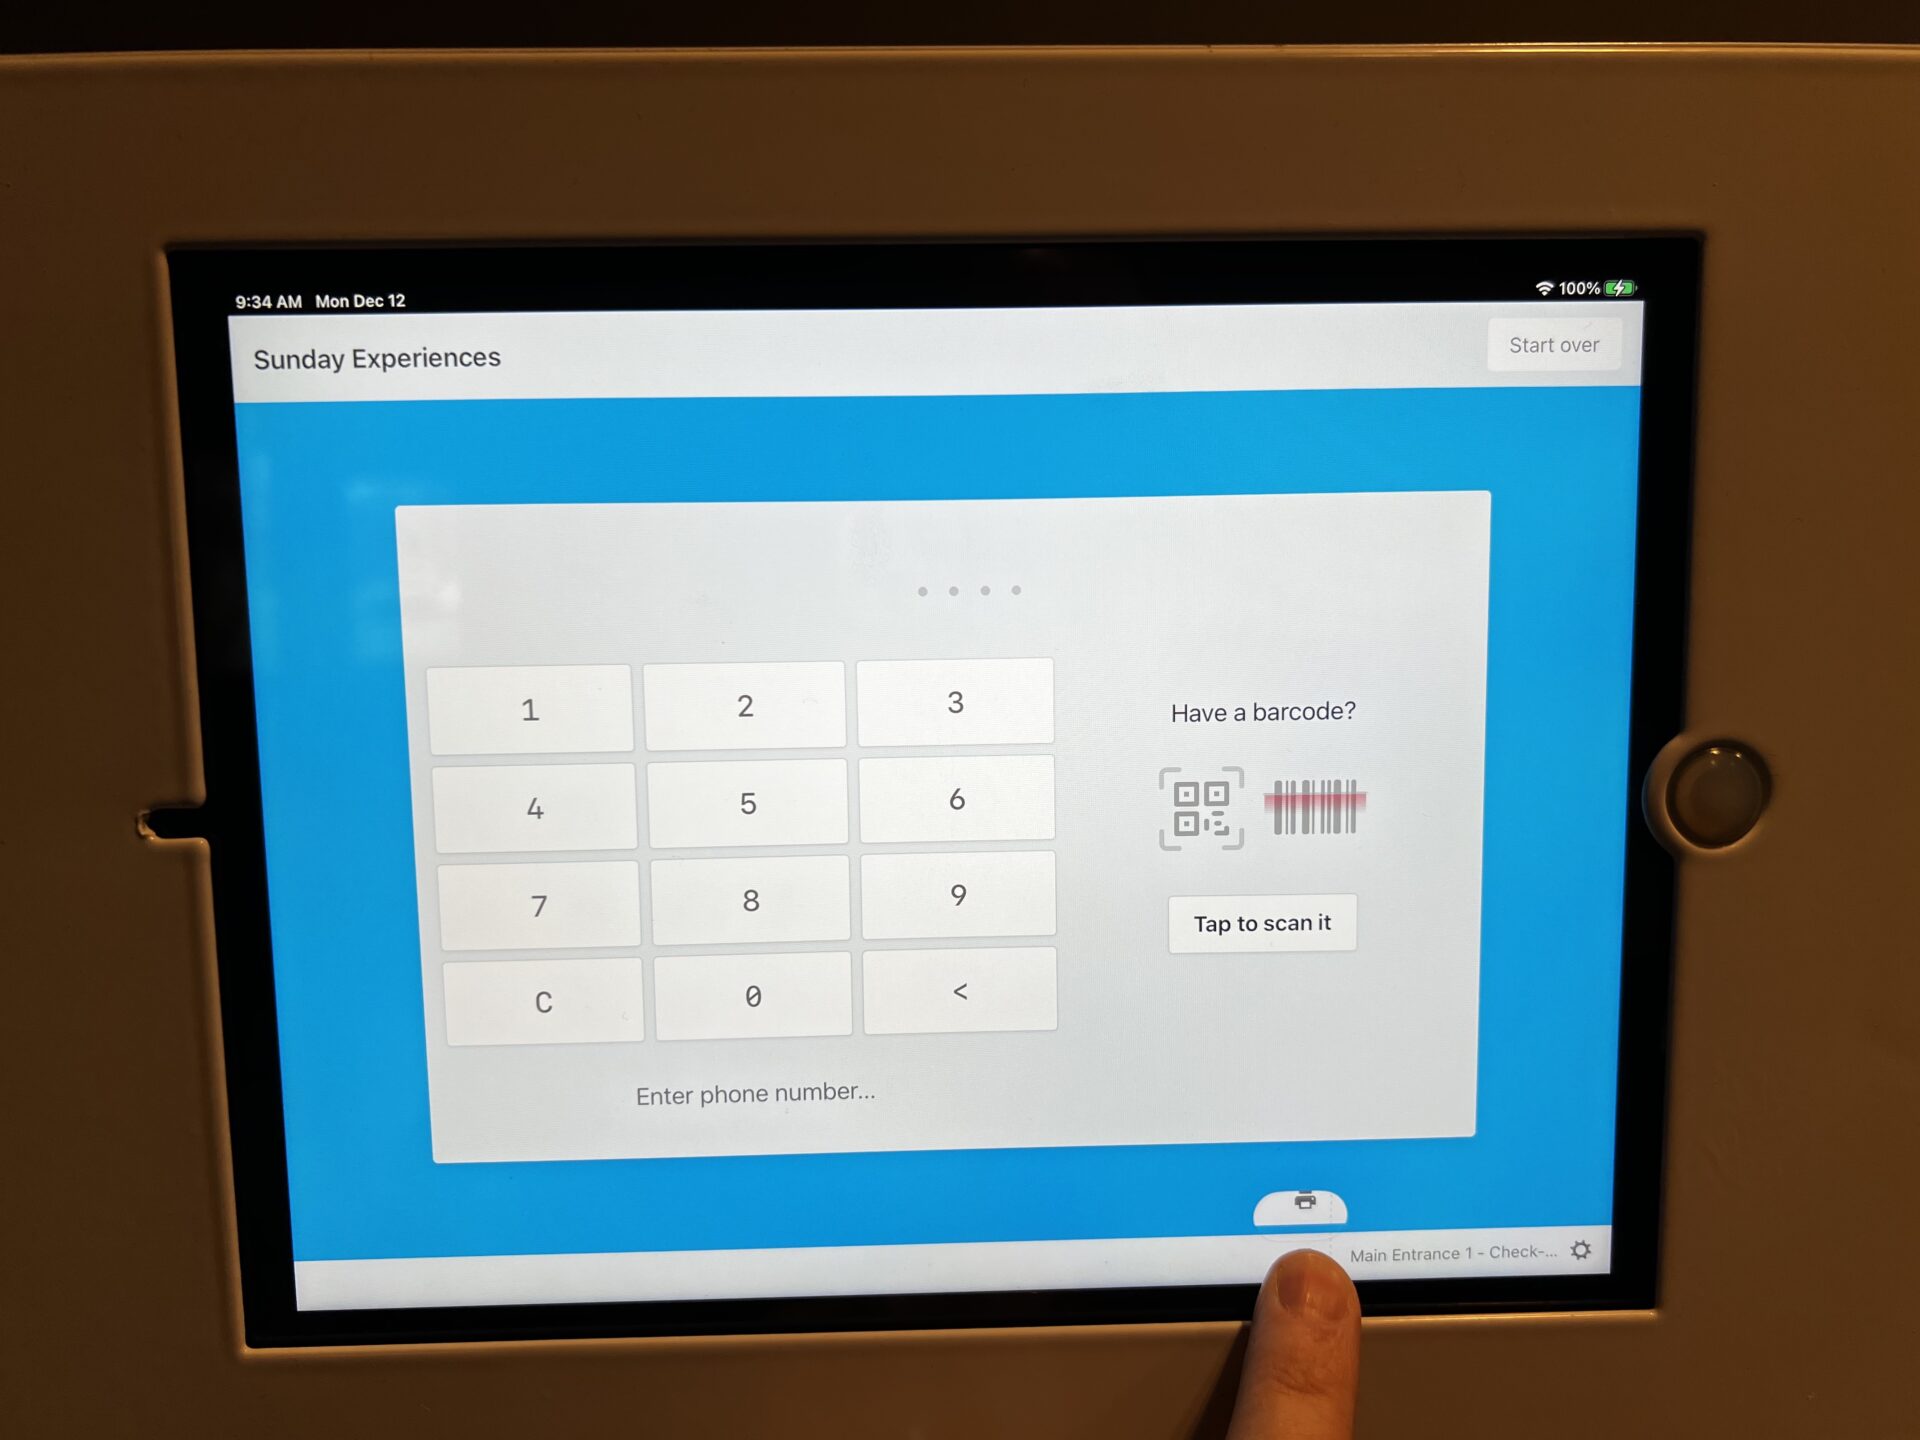
Tap on the 🖨 Printer Icon
or the ⚠️ Yellow Exclamation Point Icon.
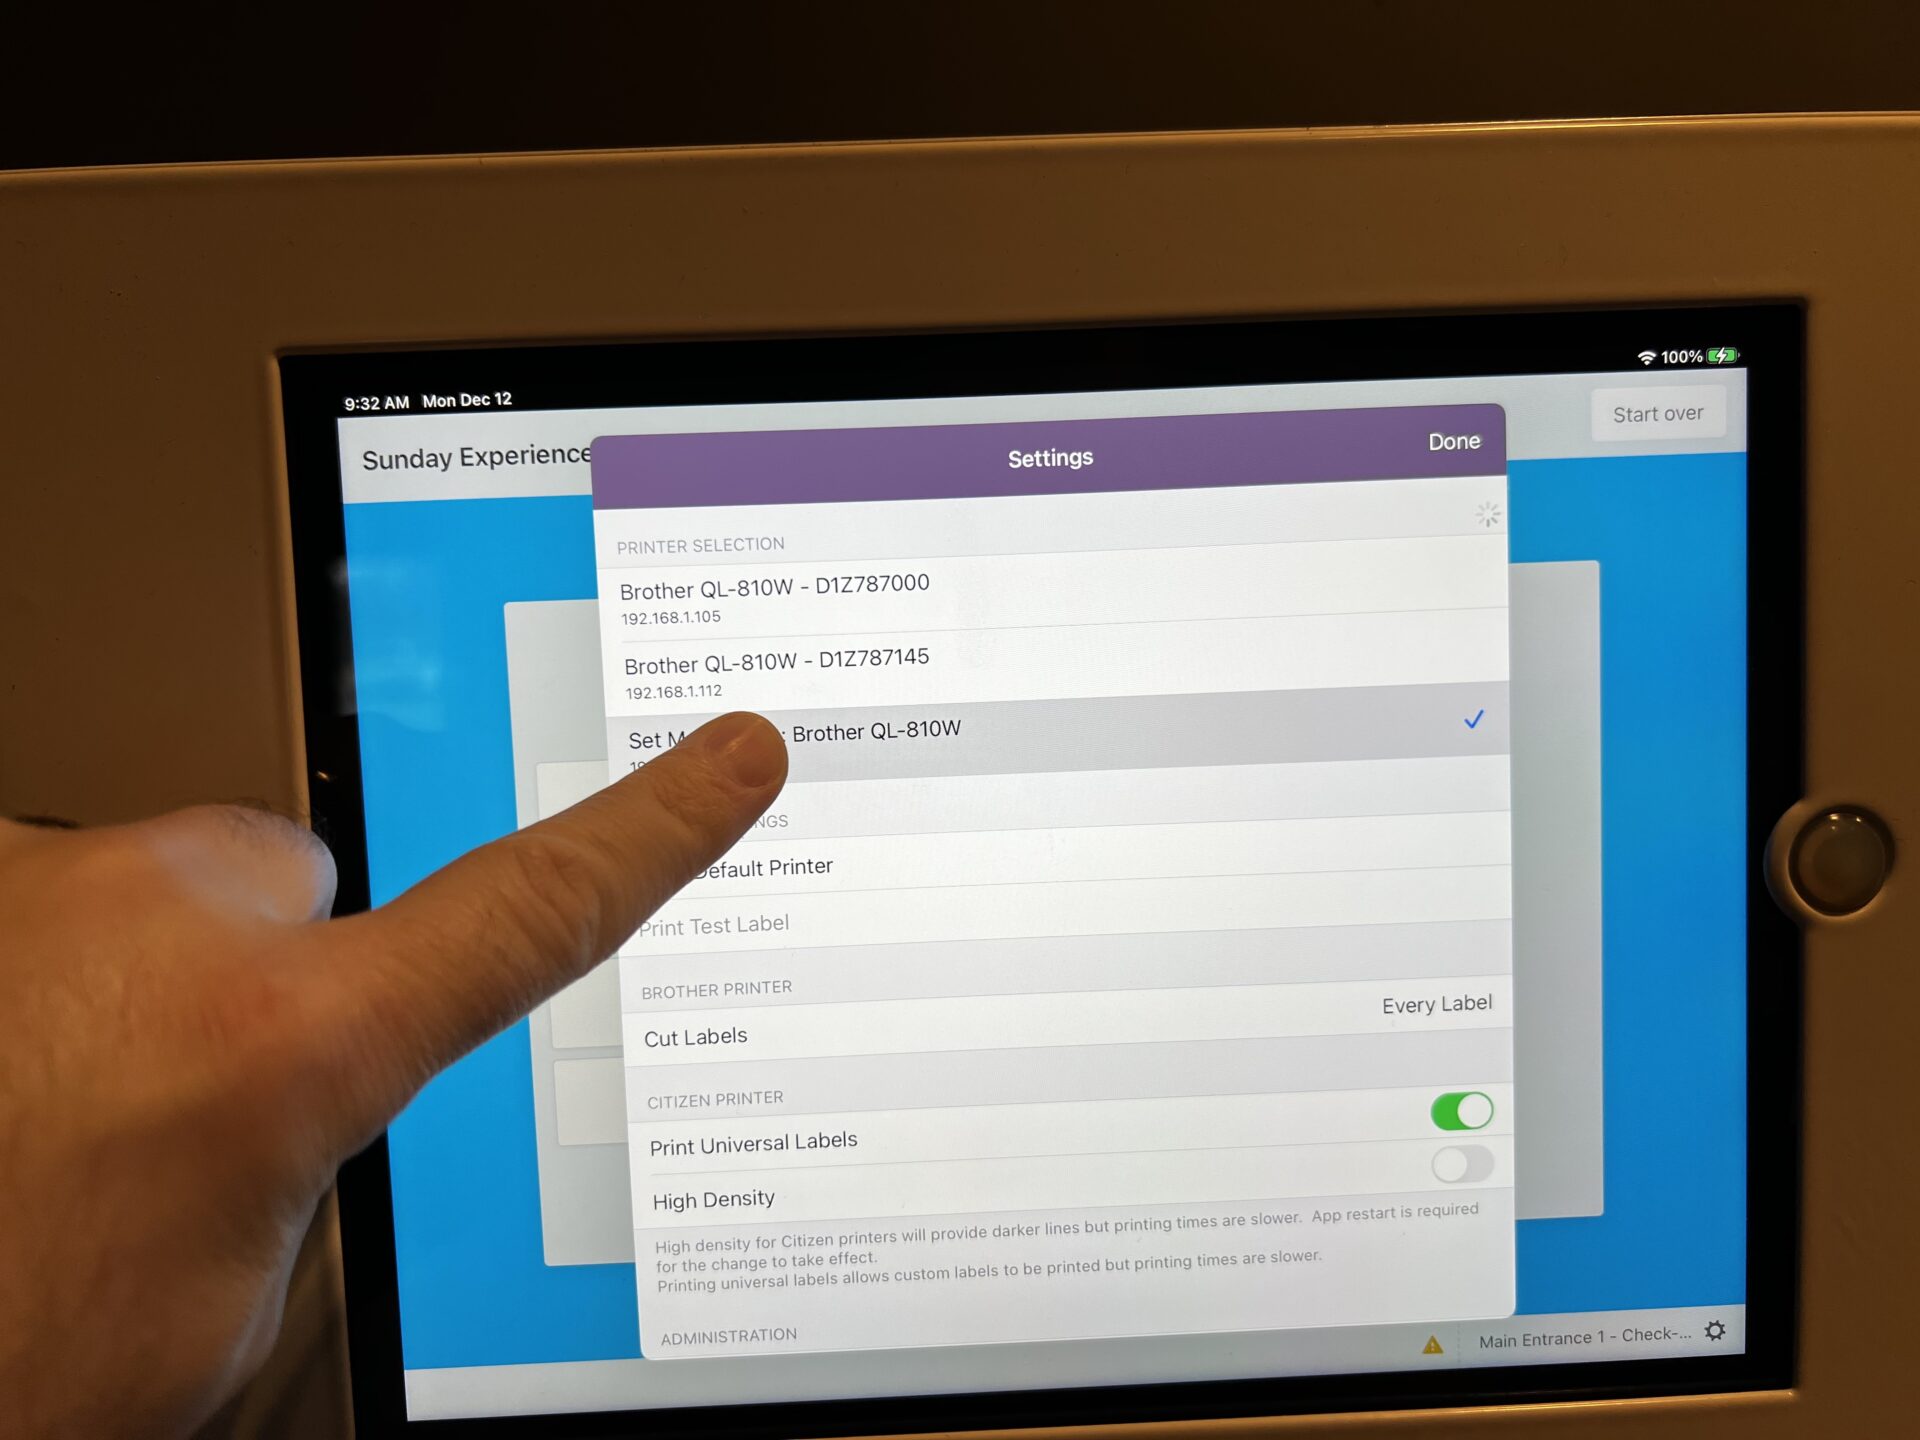
Step 2
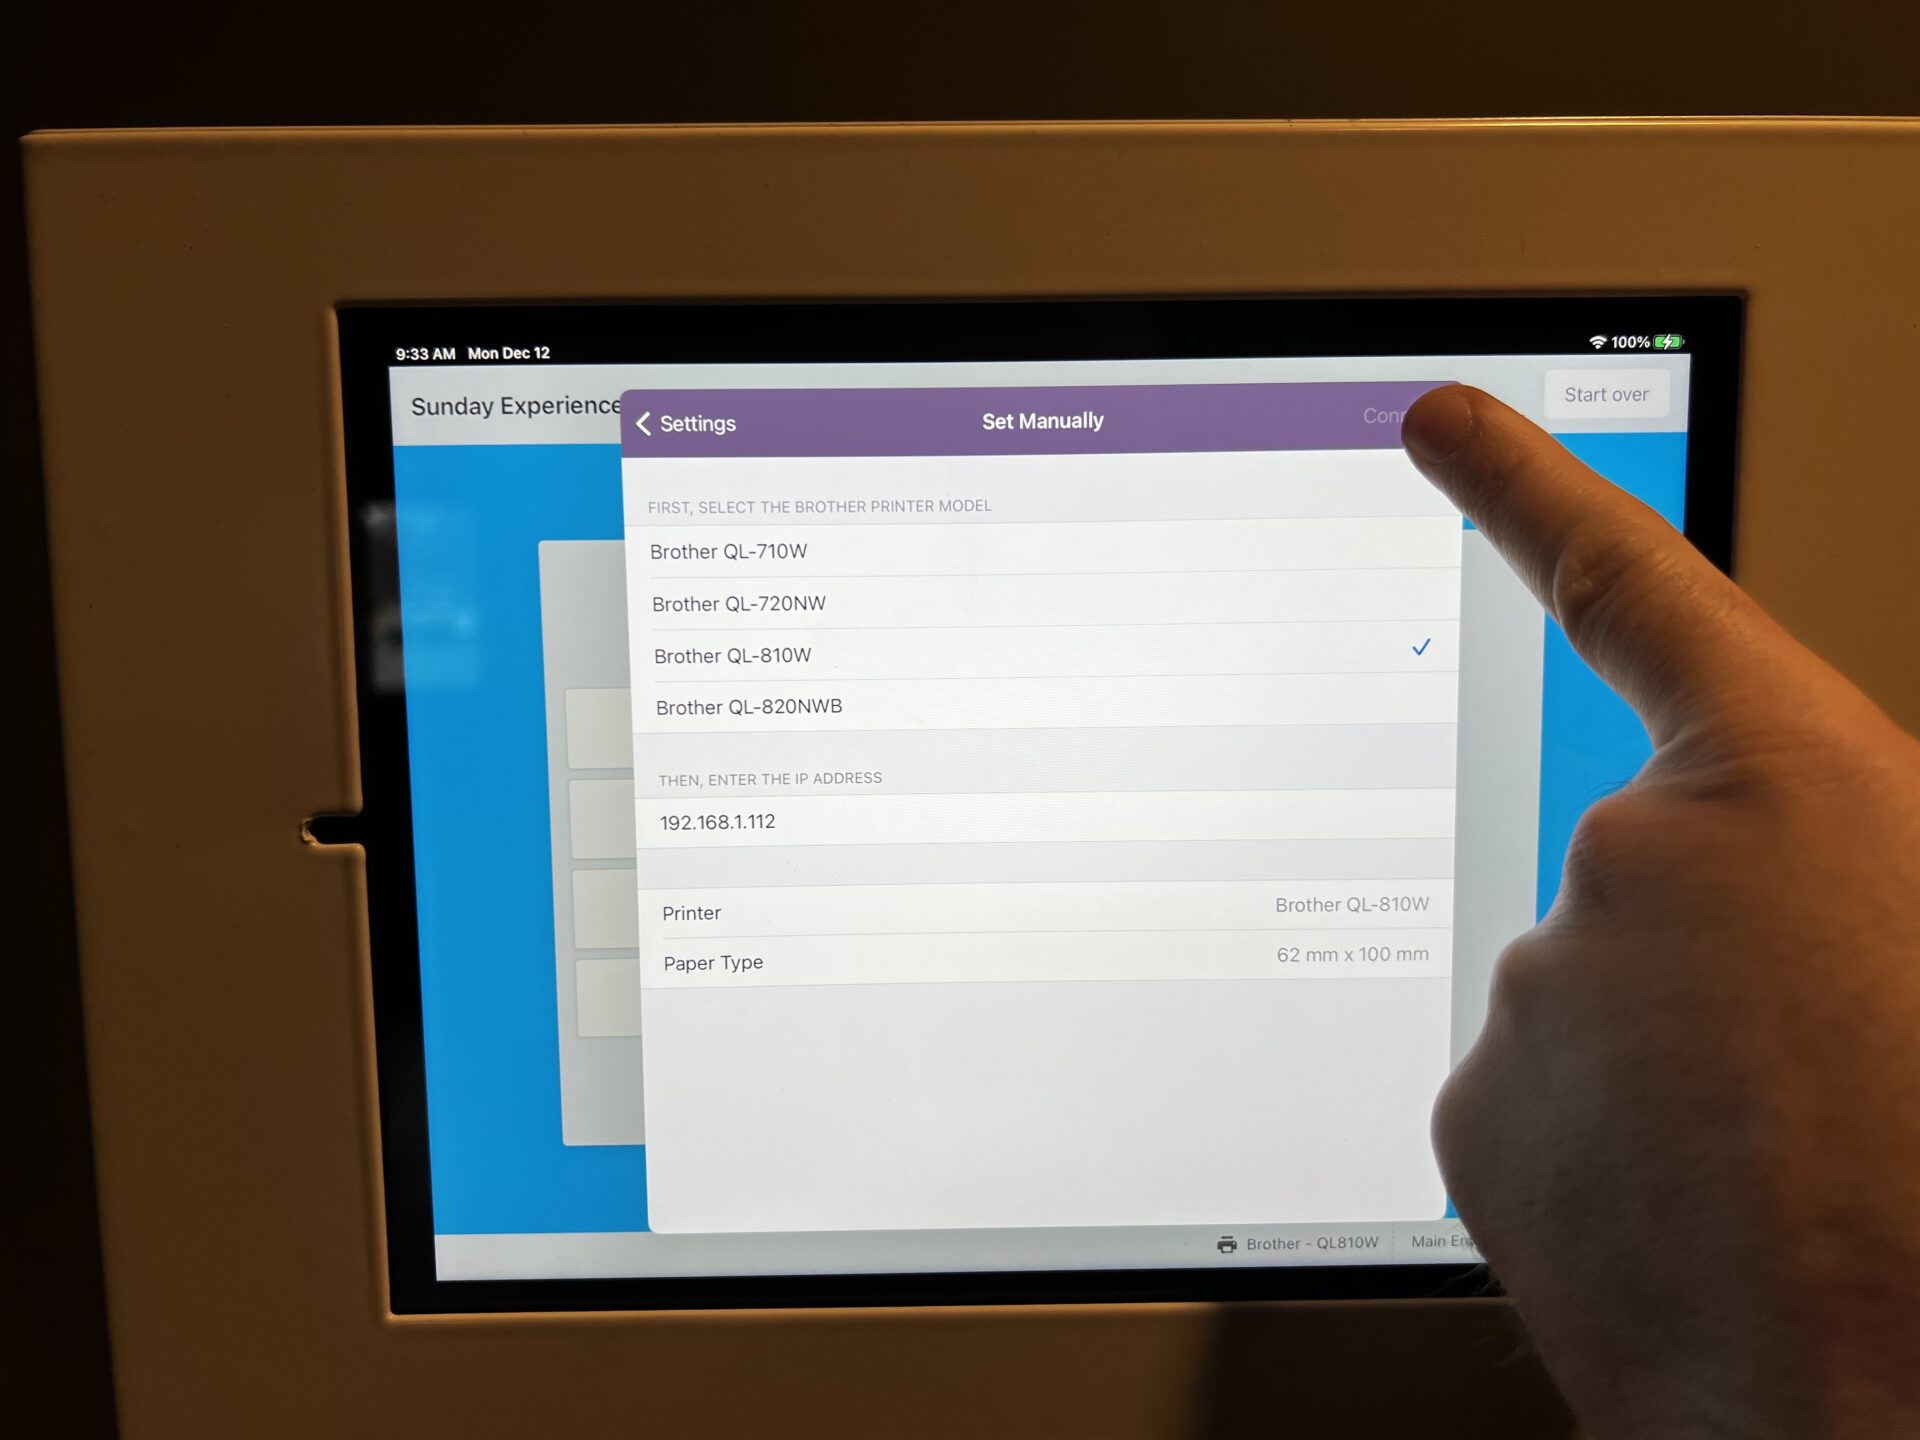
Tap on “Set Manually…”
Step 3
Choose: “Brother QL-810W”
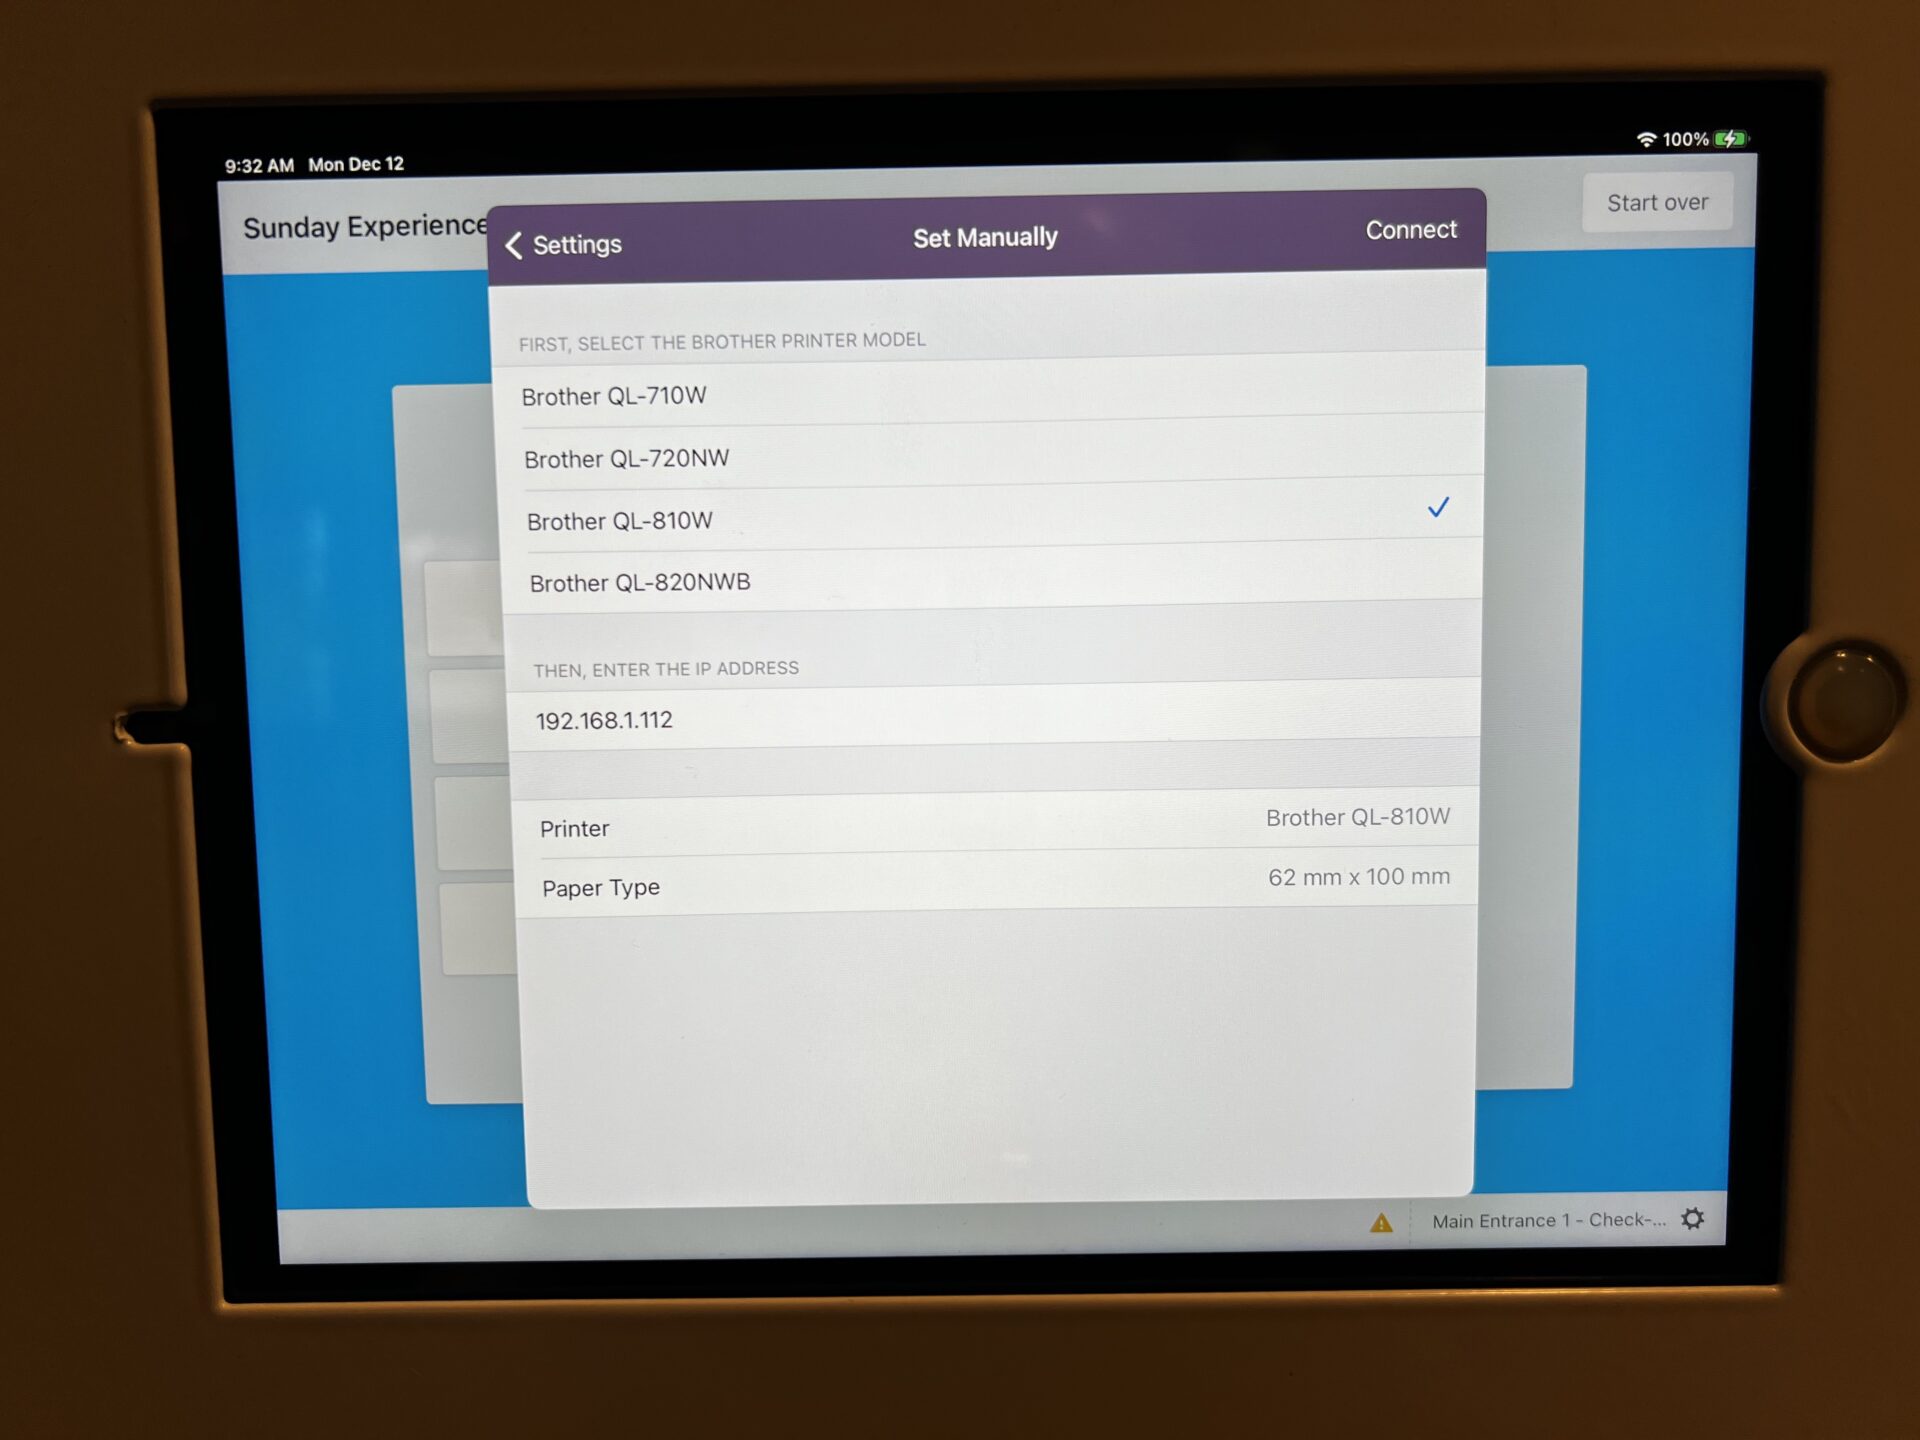
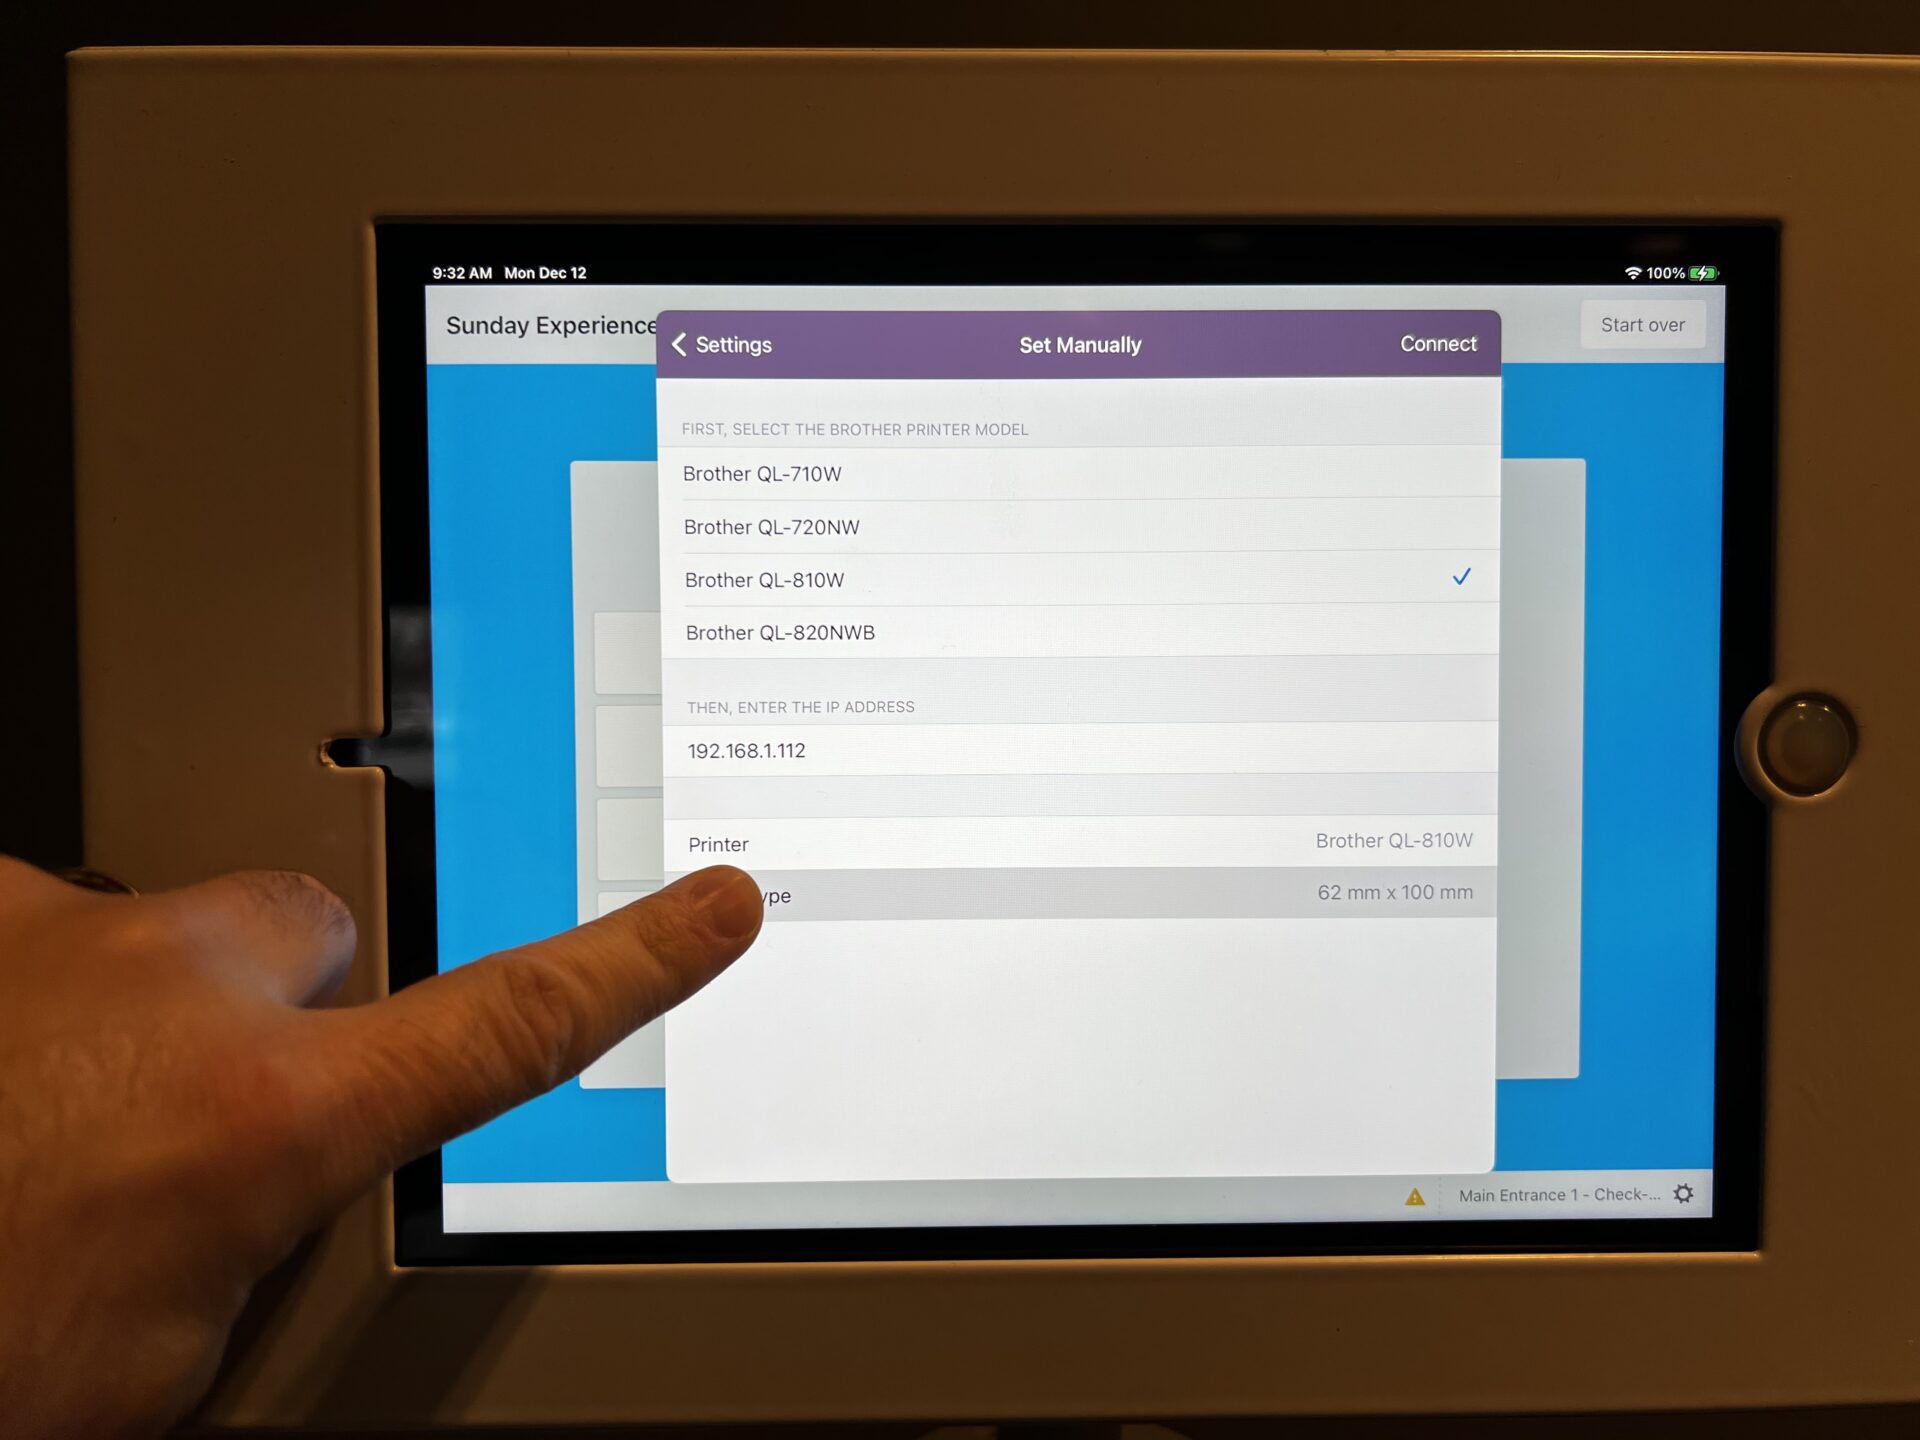
Step 4
Tap on “Paper Type”
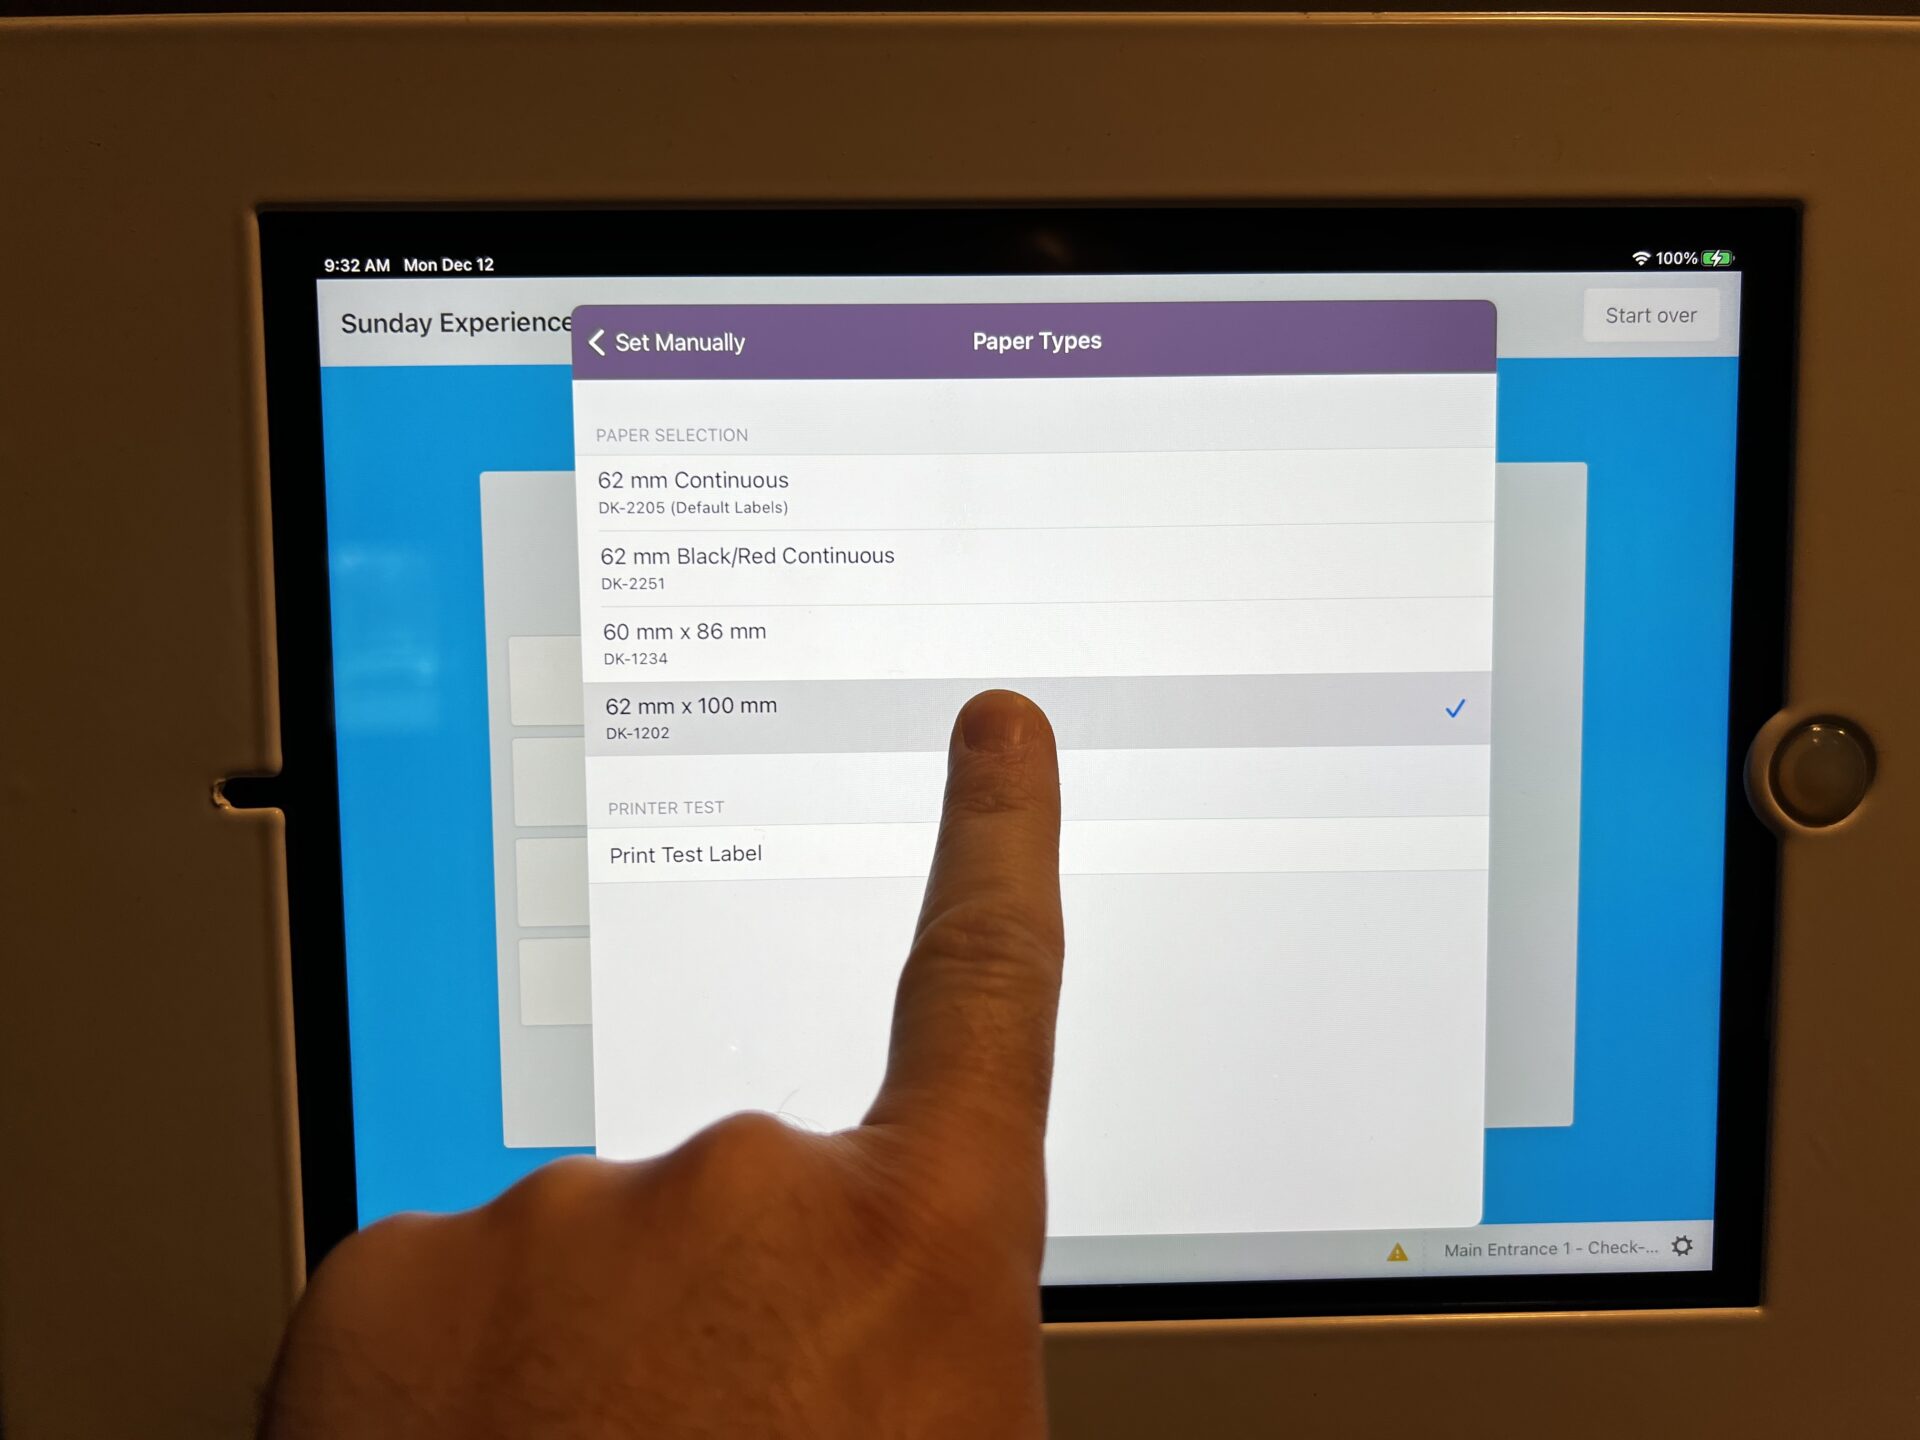
Step 5
Choose: “62 mm × 10 mm”
Then tap: “< Set Manuallly” (to go back)
Step 6
Tap on “Connect”
Step 7
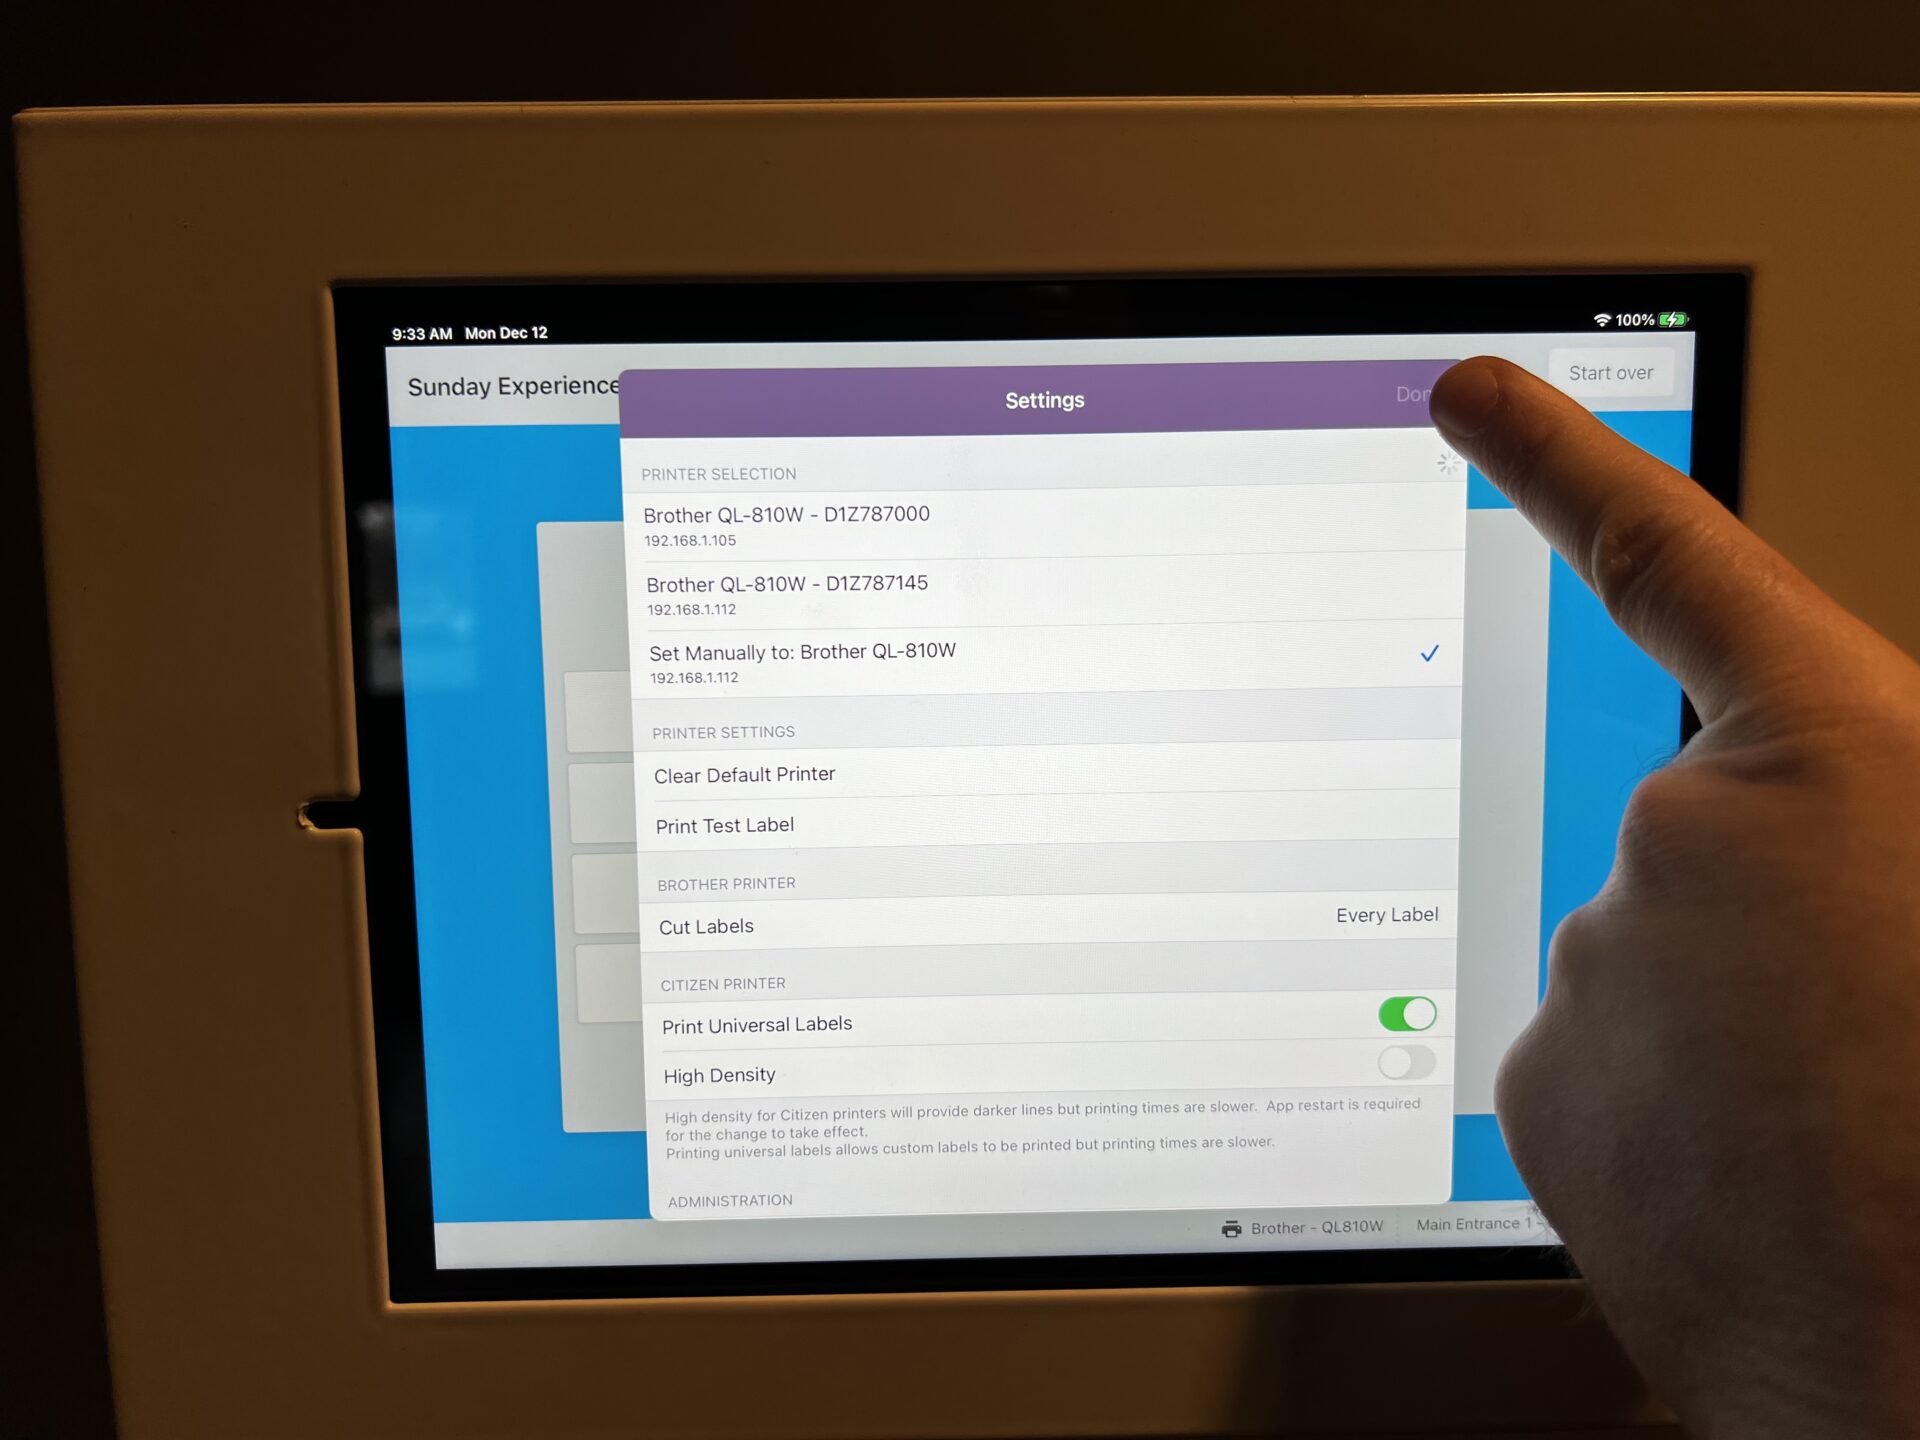
Tap: “Done”

Step 8
Tap on “Connect”
Part 3 – Guided Access – Step 1
Very Important:
To make sure the iPad doesn’t go to sleep
We must turn on Guided Access
How? Easy!
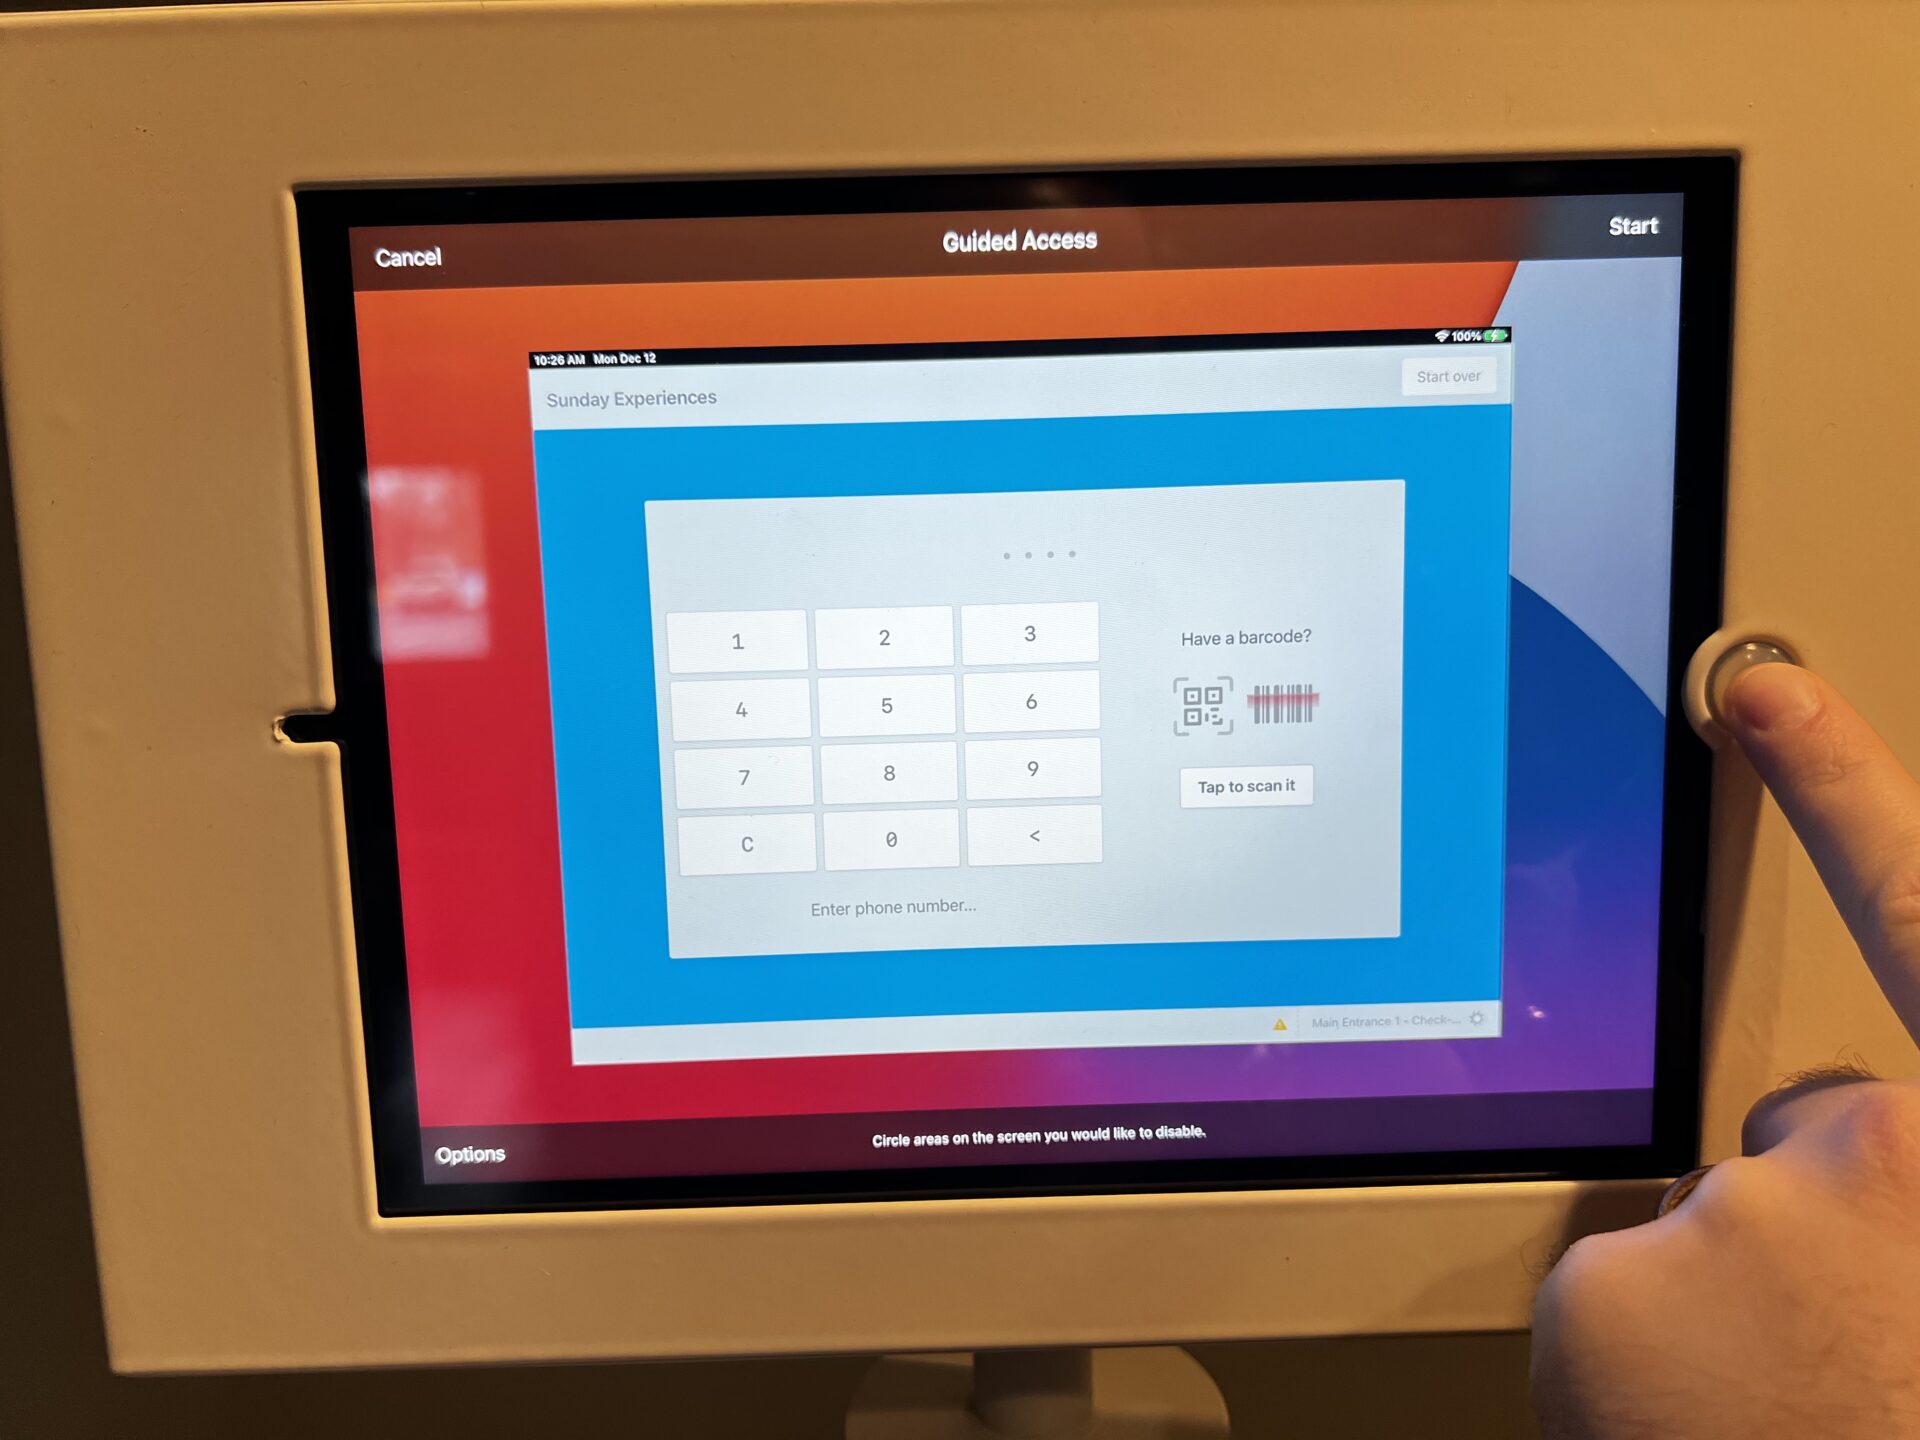
Just triple-tap on the Home Button rapidly
1, 2, 3
Step 2
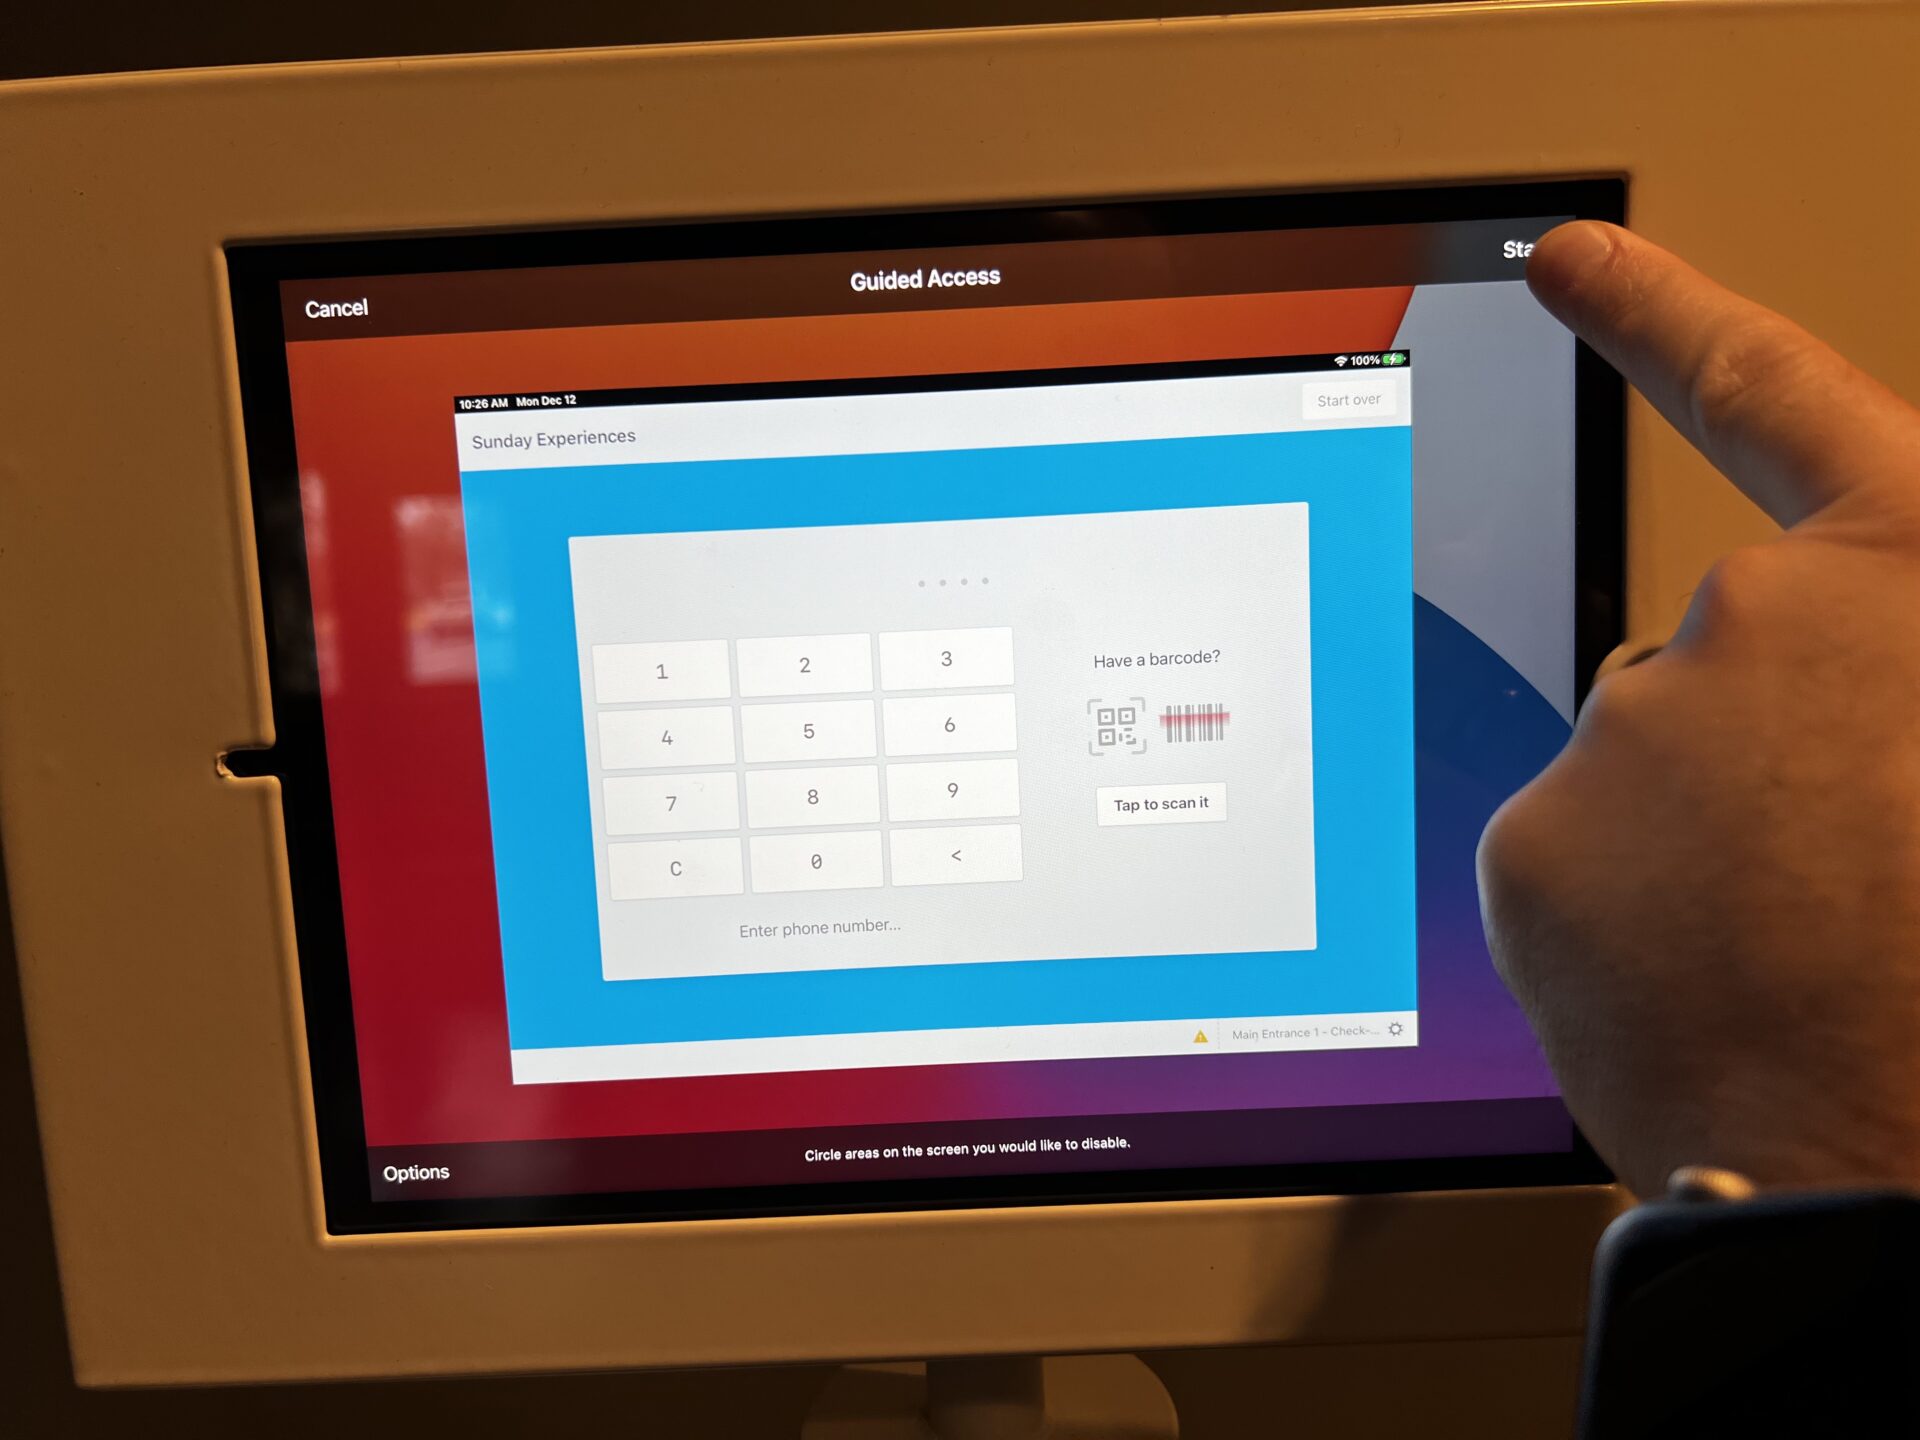
Press “Start”
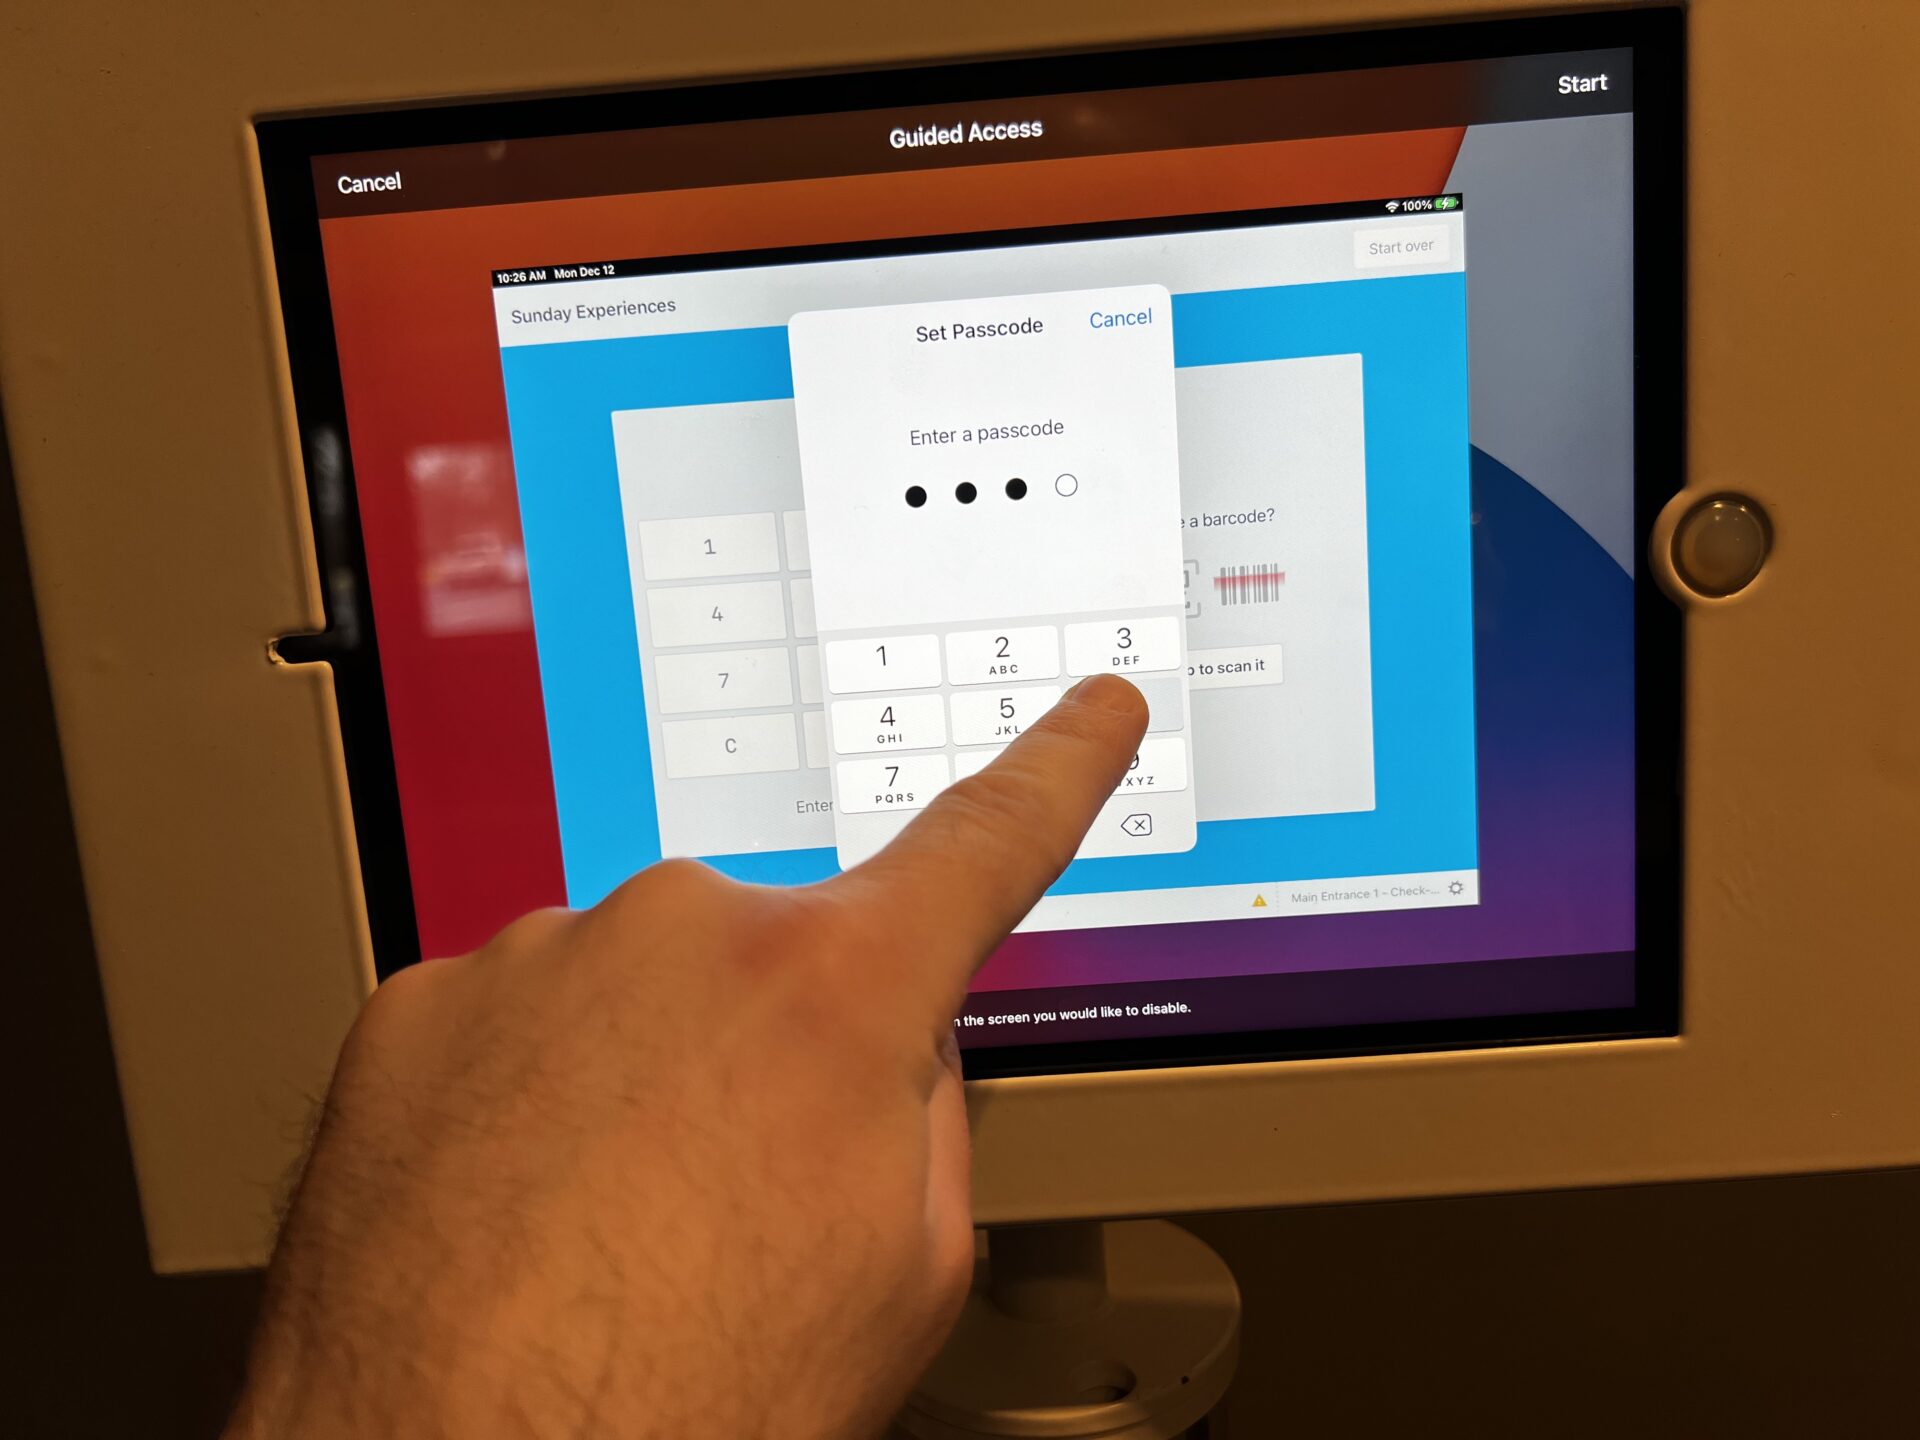
Step 3
Type in the iPad passcode:
3006
(You may need to repeat this process)
Then click OK
Part 4 – Shutdown – Step 1
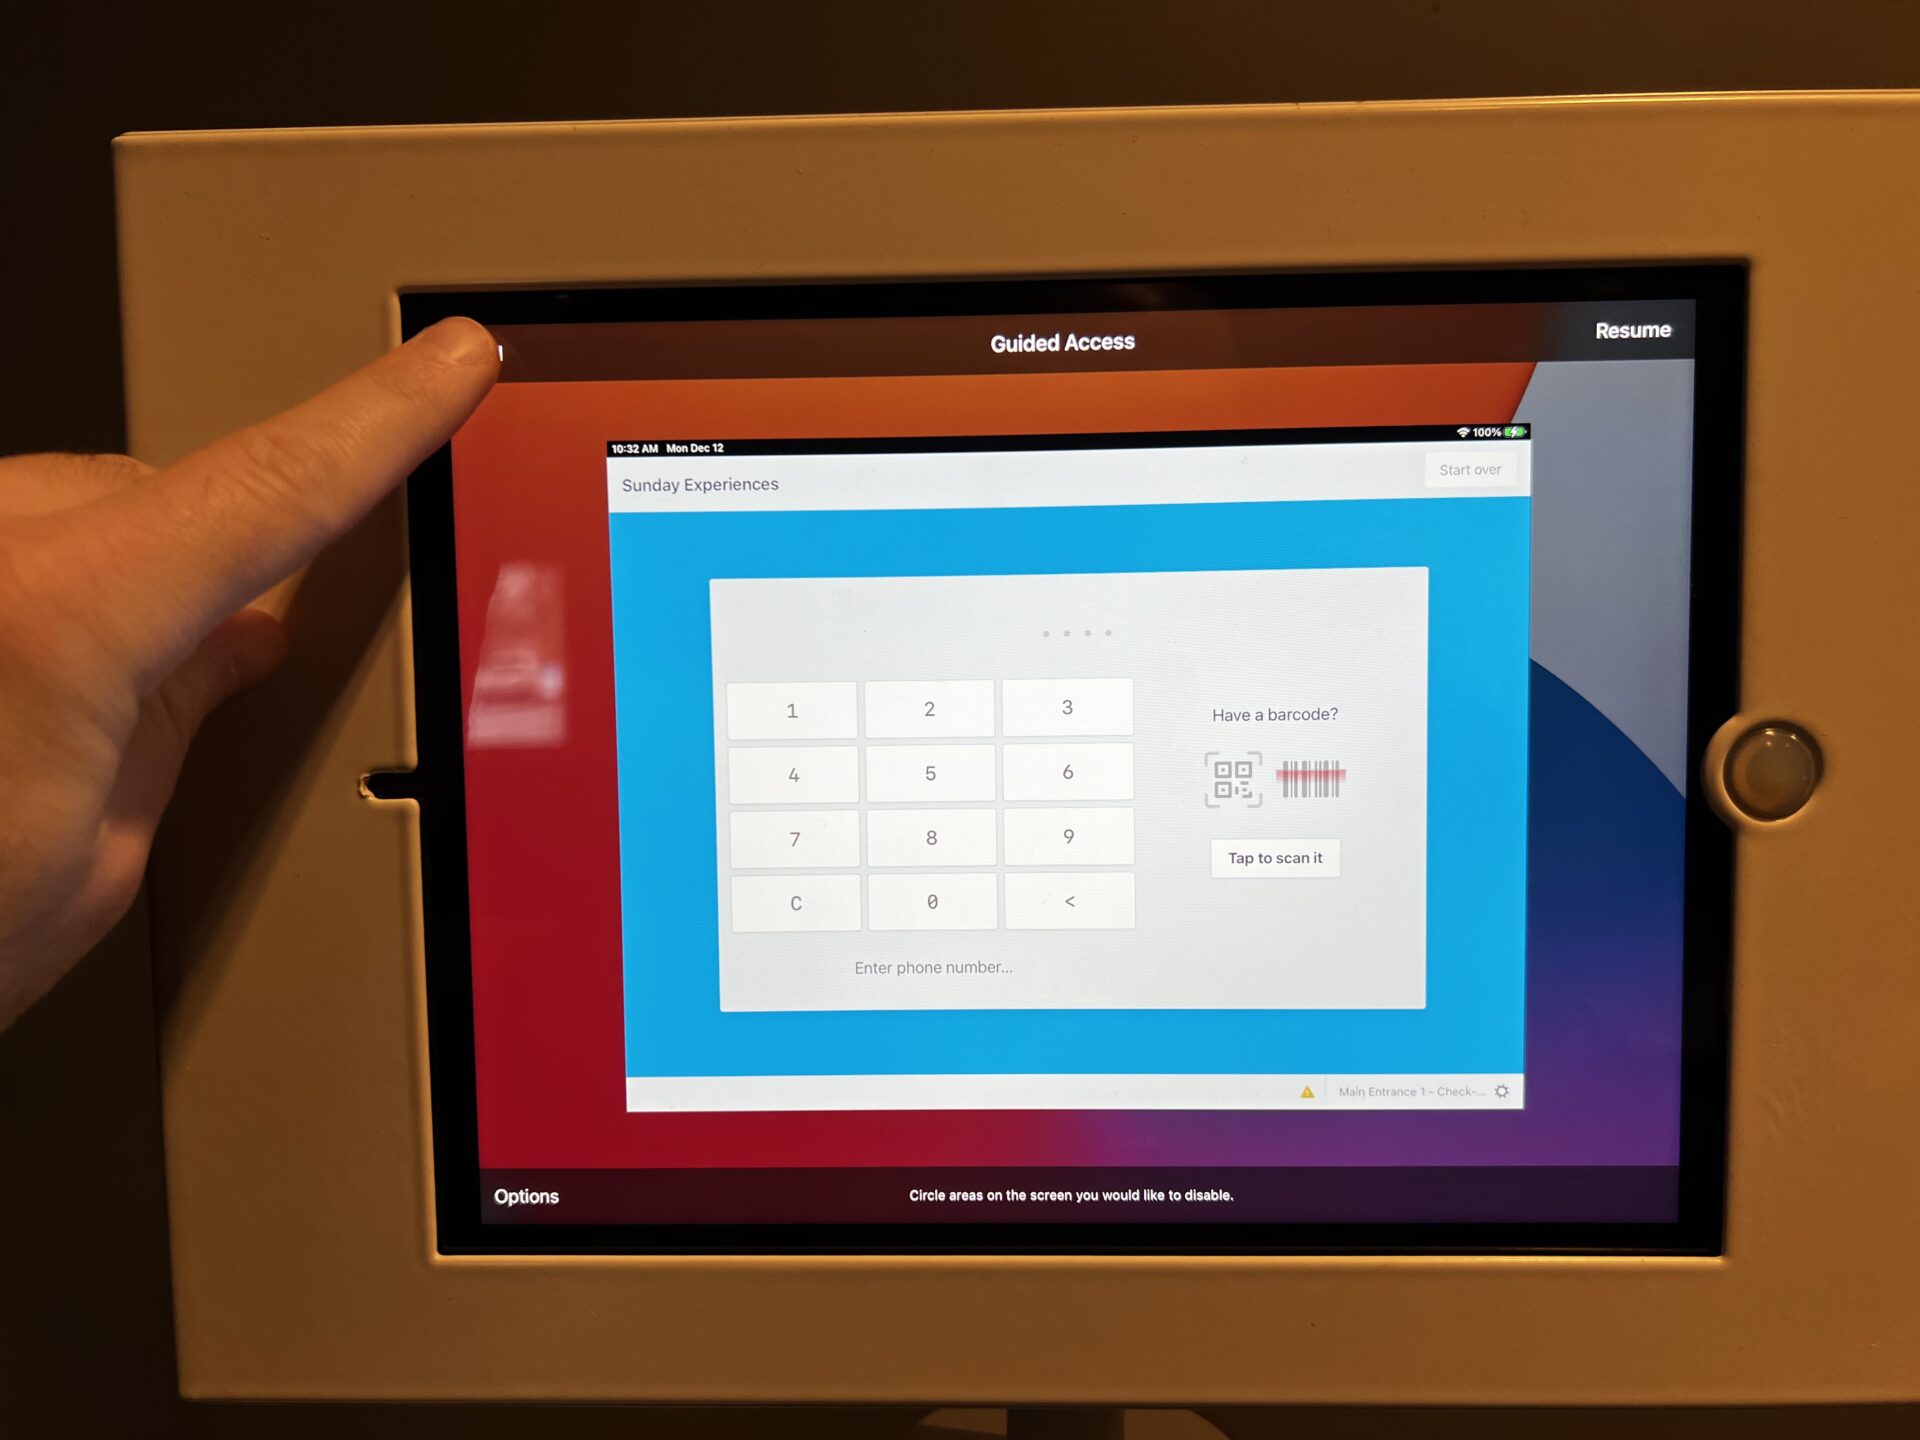
Exit from Guided Access by
Triple-tapping on the Home Button rapidly
1, 2, 3
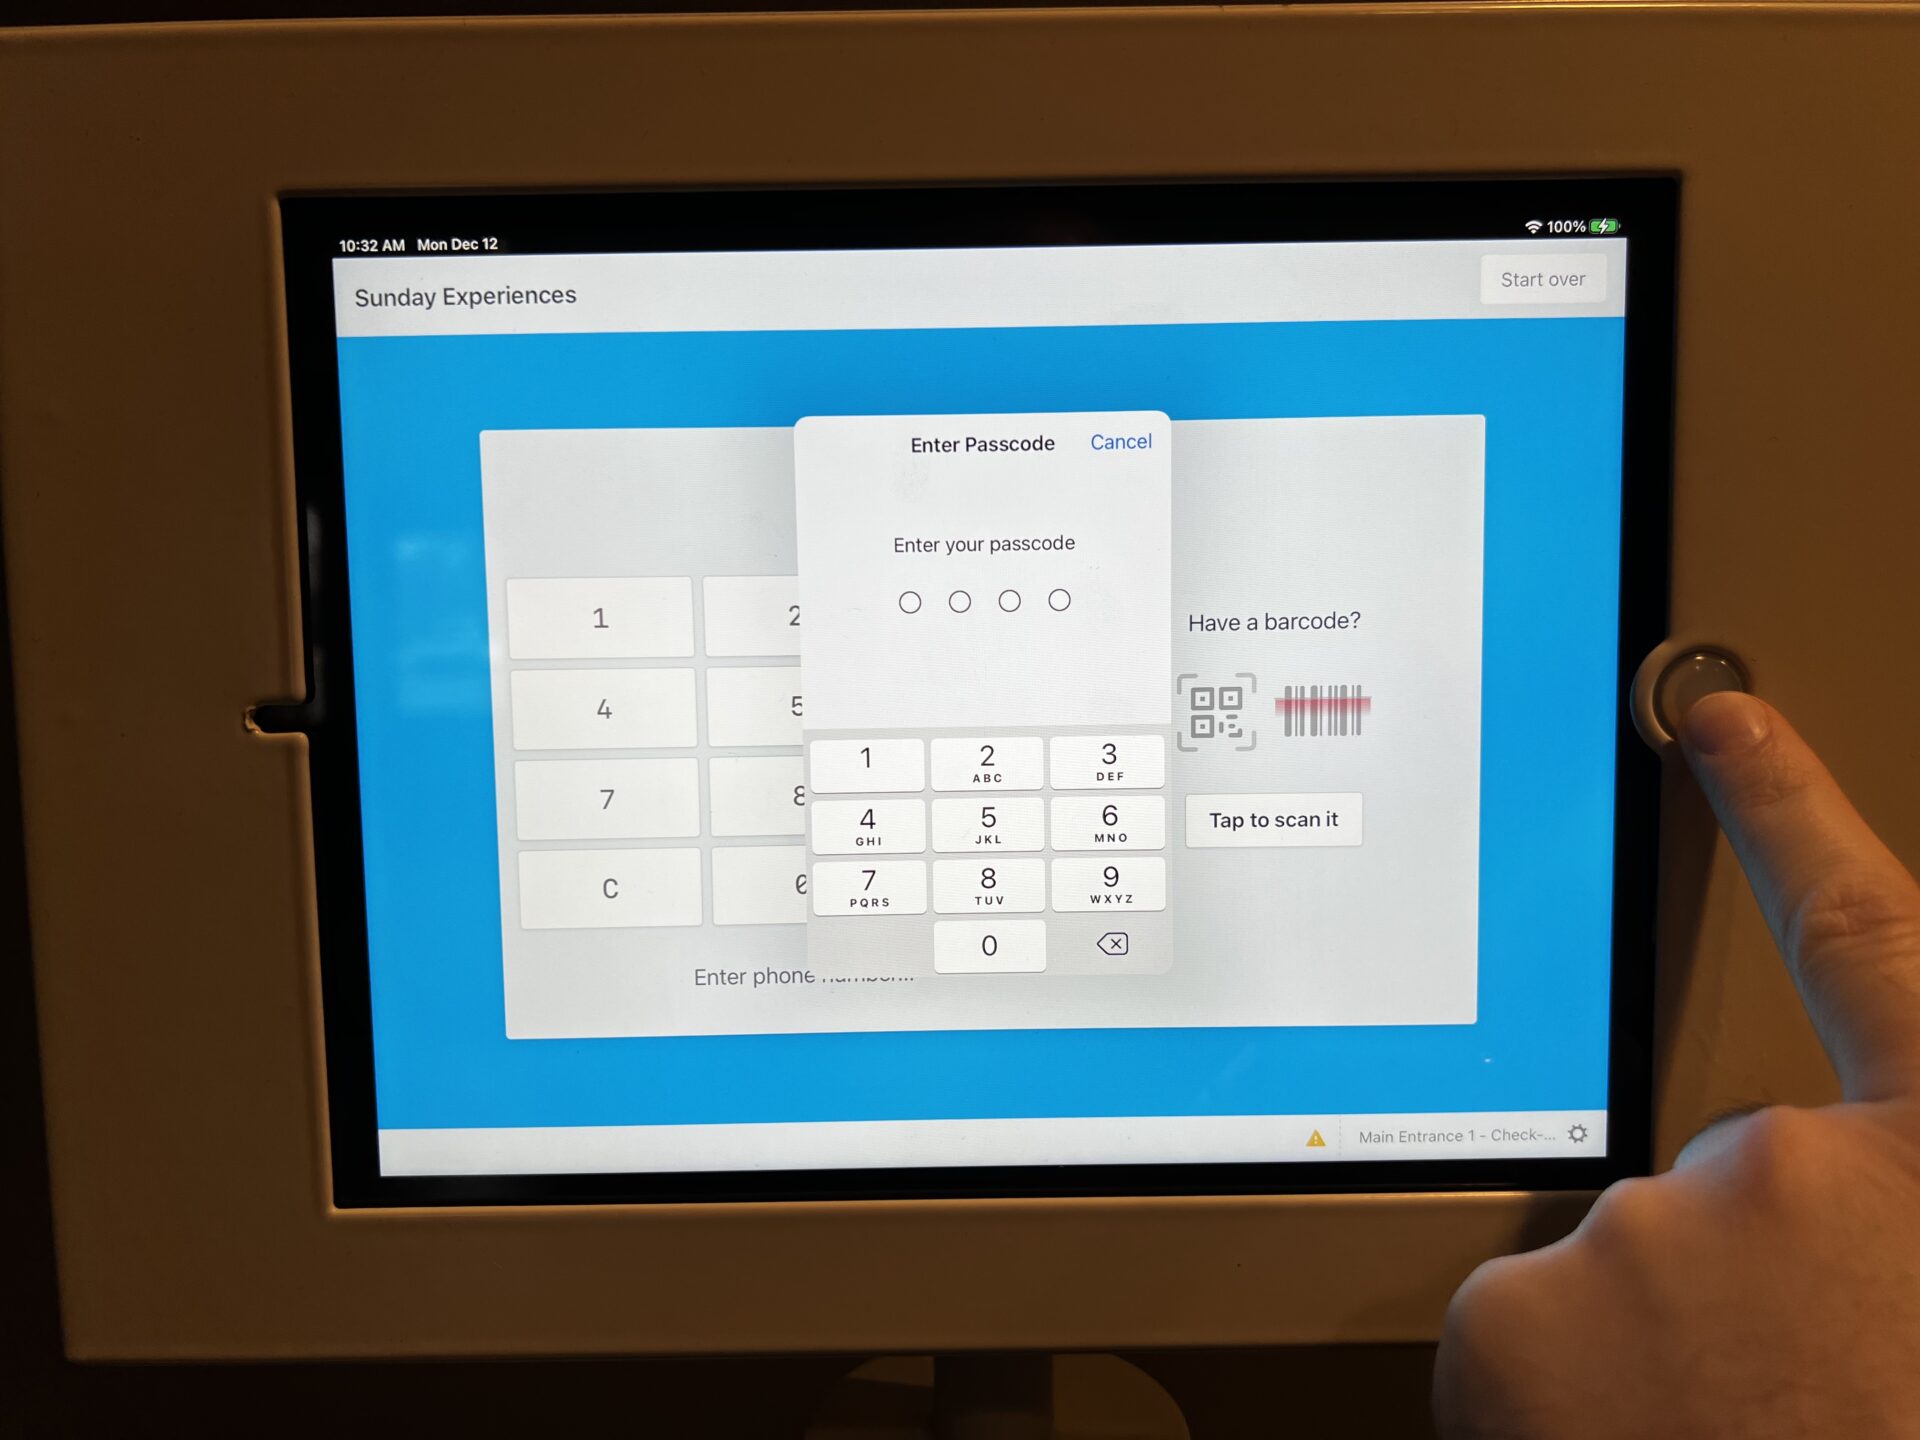
Type in the Passcode:
3006 to unlock out of Guided Access
Step 2
Press “End”
Step 3
Shutdown the Printer
By Pressing and holding the Power Button
